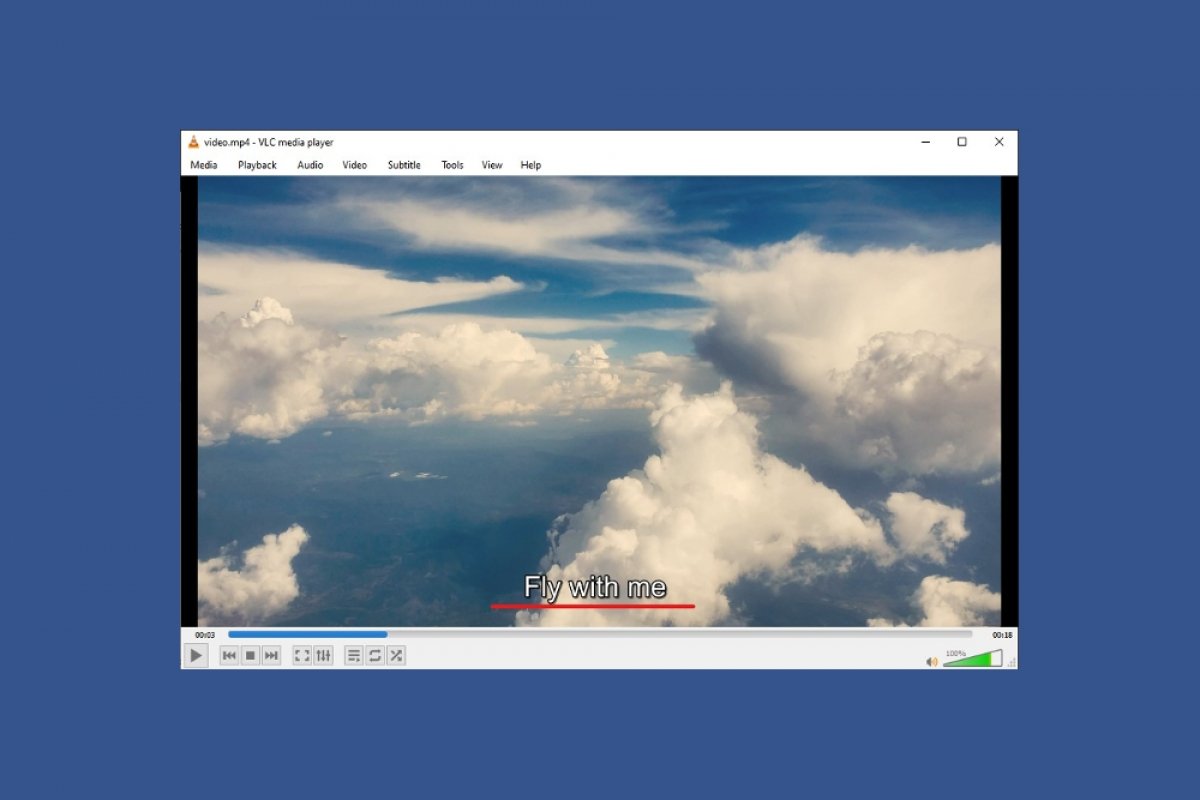
Subtitles are useful for watching movies or series in their original version. They are also necessary for people with hearing problems. VLC is one of the most versatile media players and, of course, it lets us add subtitles to any movie or series. Which format are the subtitle files in? To add subtitles to a movie or series with VLC, we must have an SRT file. It stores a timeline with the text blocks to be displayed on the screen. To get SRT subtitle files, you can download them from the Internet. It is also possible to create them by ourselves using an application such as notepad.
Open the video to be subtitled with VLC. Tap on the Subtitles section in the VLC toolbar and select Add Subtitles...
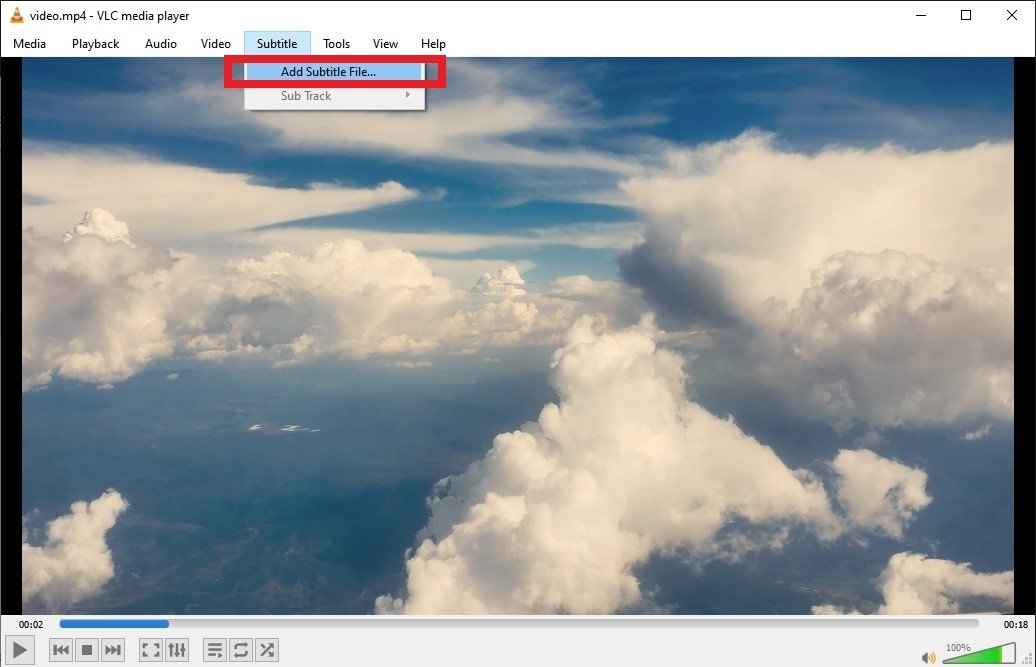 Open the Subtitles menu in VLC
In the file browser, locate the SRT file and click Open.
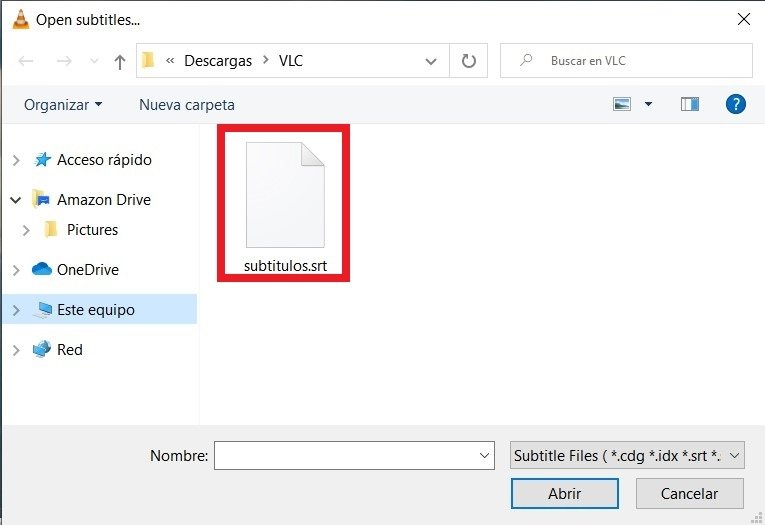 Search for the SRT file
Once we have done this, VLC will associate it with the video and the subtitles will be available. The subtitles are usually shown at the bottom.
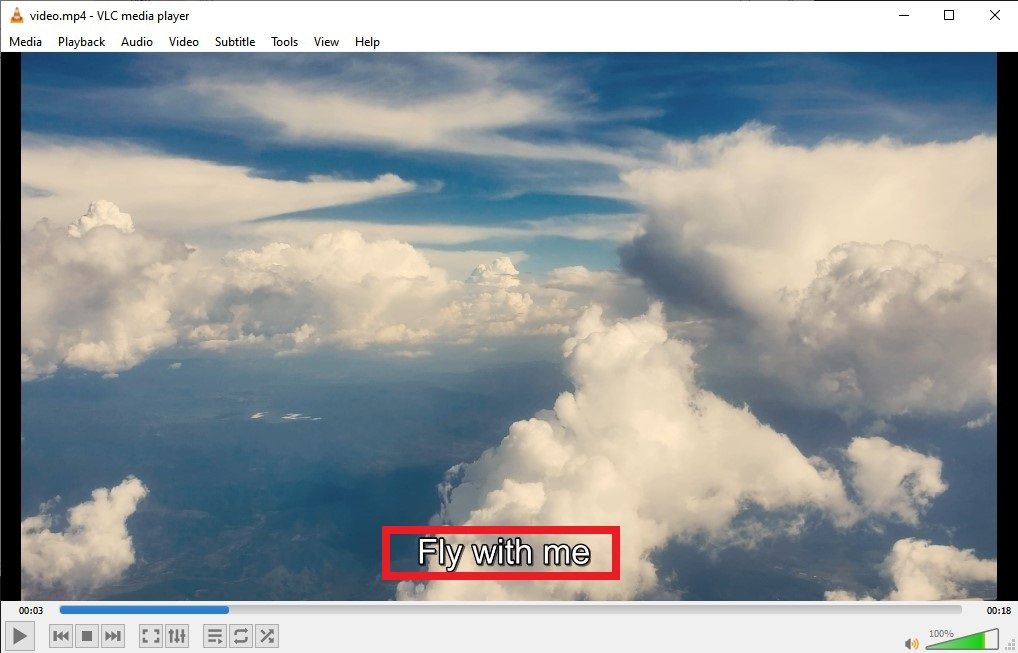 Subtitles added
However, there is an alternative method that is much simpler and does not require us to manually add subtitles. Follow the steps below if you want VLC to display the subtitles automatically. Open the folder where you saved the video file. Drag the SRT file and drop it in the same folder where the file to be subtitled is located.
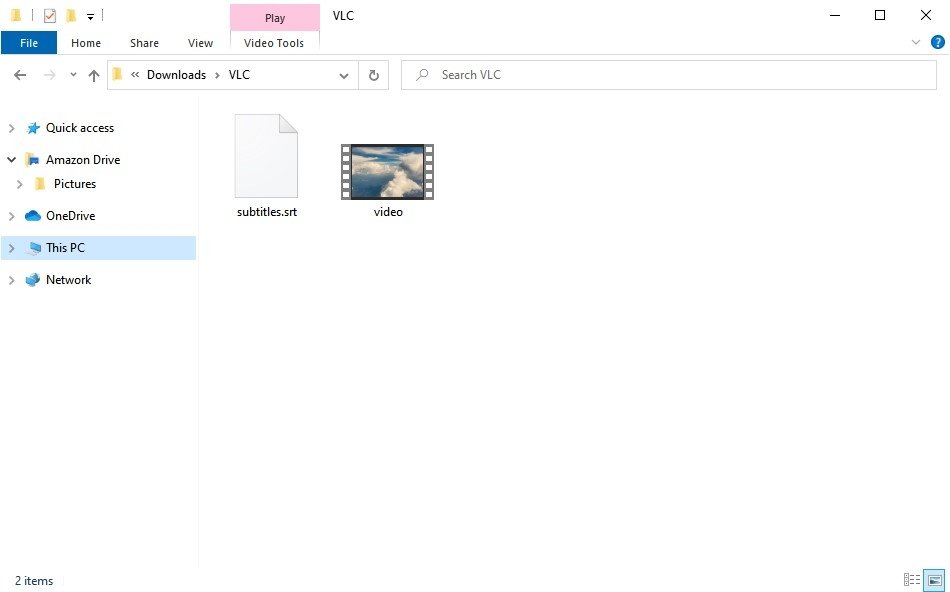 Put the video and the SRT in the same folder
Rename the SRT file with the same name as the video file.
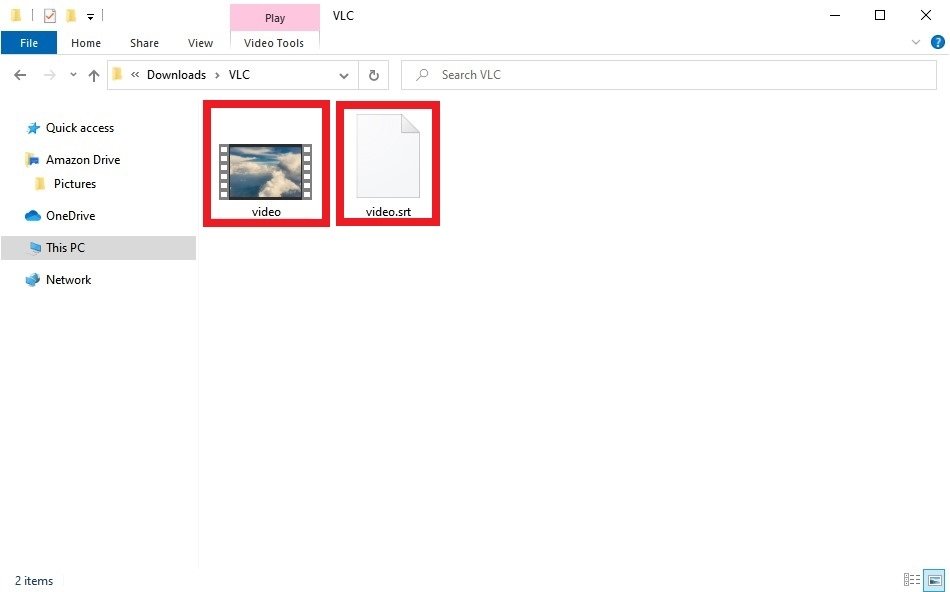 Give the video and the SRT the same name
Open the video and VLC will automatically associate the video file with the subtitle file.
 Subtitles added
As you have seen, adding subtitles to any video file with VLC is an easy task.

