UltraVNC lets remote control of any other computer thanks to the remote desktop function. You must know that this tool is made up of two main parts. On the one hand, the server called UltraVNC Server, and on the other hand, the software, known as UltraVNC Viewer. The server must be installed on the computer to be controlled, and the software, on the computer that is going to control and monitor. Therefore, during the installation, choose correctly which of the two functions you want to enable. You must do it by displaying the list and choosing between UltraVNC Server only or UltraVNC Viewer only. In the case of choosing Full Installation, both applications will be installed.
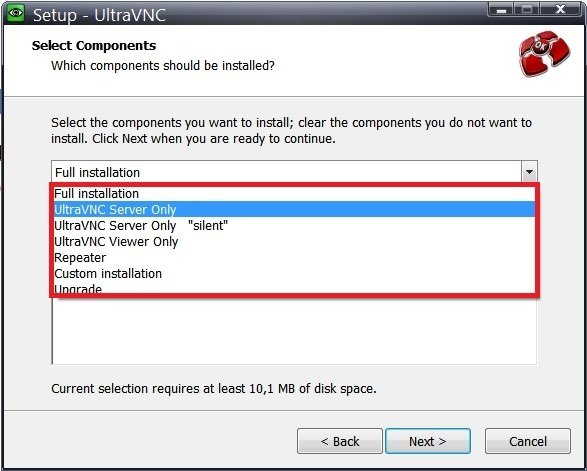 Choose the installation type
After installing UltraVNC, it is time to set it up. Let's start with the software. Click on the Windows key and type UltraVNC Server Settings. Open the first result.
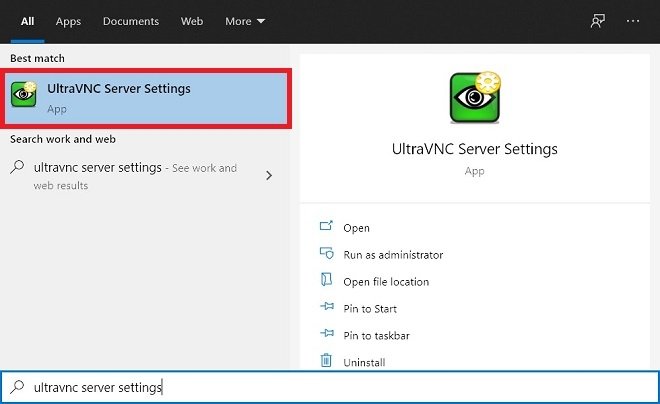 Search for UltraVNC Server
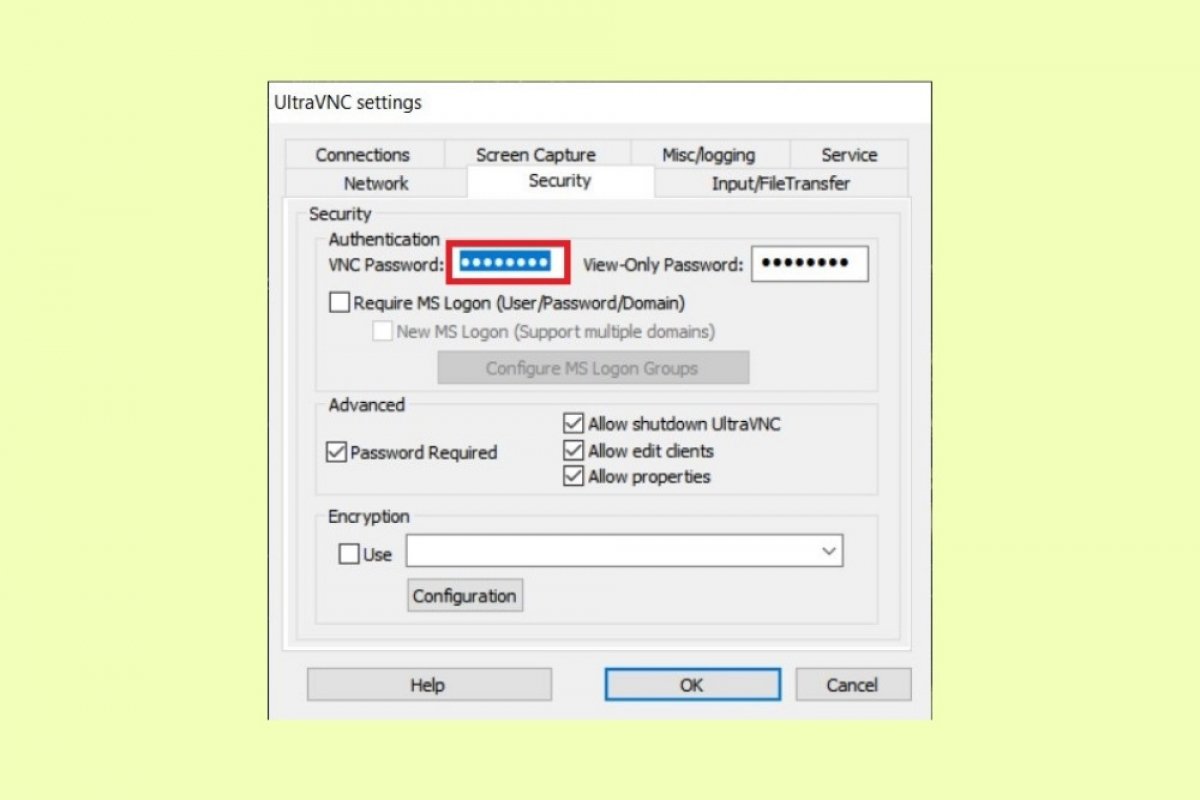
In the Security tab, customize the access password. That is the password that the software will ask for to remotely access your computer.
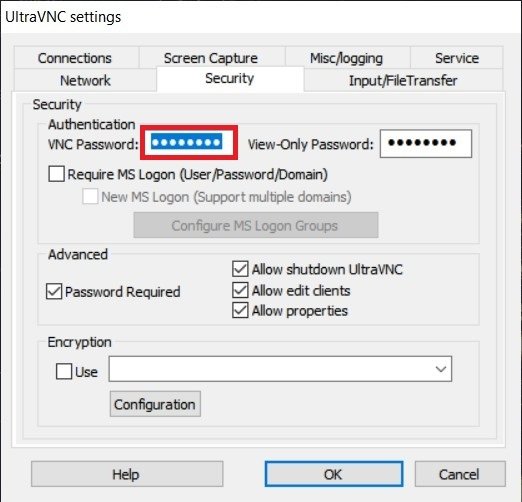 Create a password
Before setting the connection, you must know the IP address of the server. Therefore, use the Windows key to search by typing CMD.
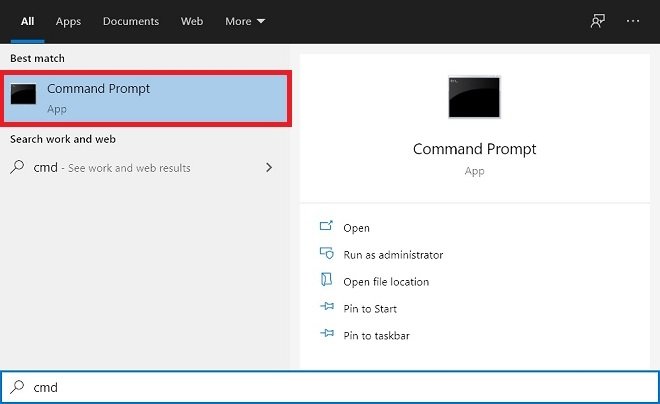 Open CMD
Once in the console, type ipconfig and press the enter key. Locate the adapter you are currently using, WI-FI or Ethernet, and write down the IP address displayed.
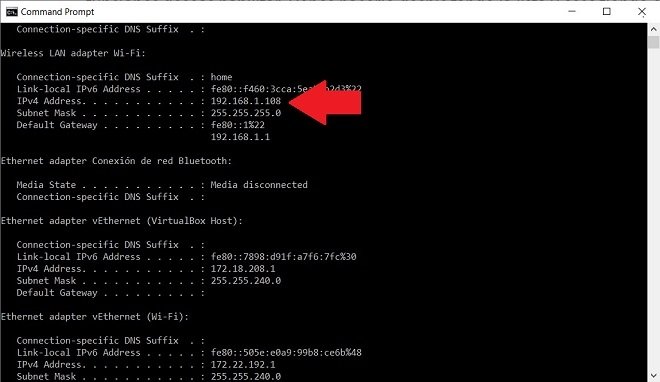 IPCONFIG to view your IP
Go to the computer that will act as the viewer and that will control the computer acting as the server. Once there, press the Windows key and look for UltraVNC Viewer.
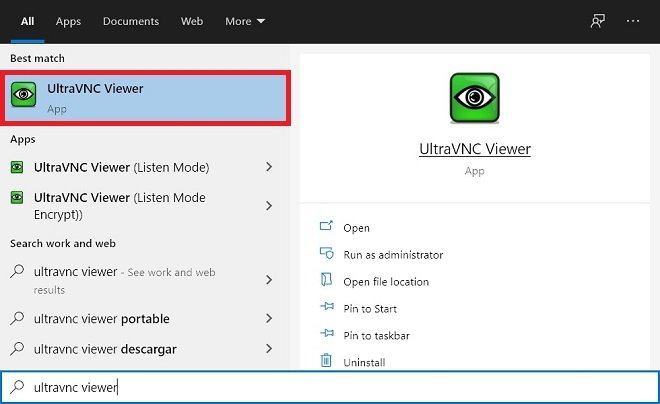 Open the UltraVNC viewer
Enter the IP address you obtained in the previous steps and click Connect to continue.
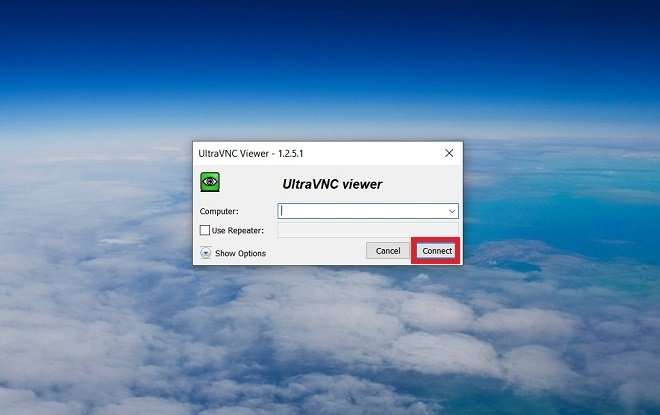 Enter the IP address
Now, type the password specified above and use the Log on button. By doing so, the connection will be set.
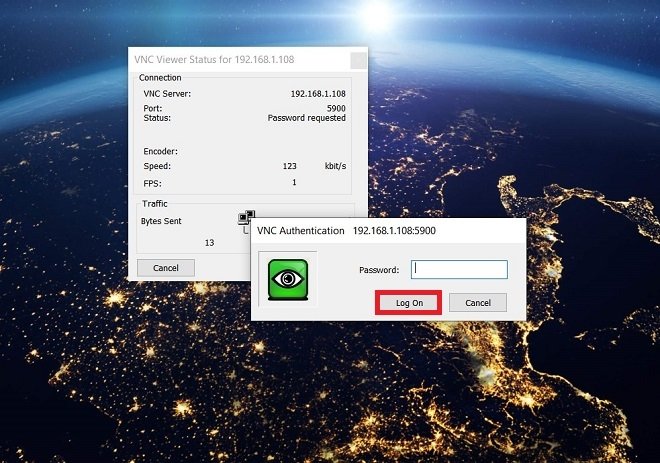 Enter the password created
If you experience problems running UltraVNC, make sure the system firewall, known as Windows Firewall, is not hindering the connection. If so, add the appropriate exceptions to solve the inconveniences caused by this security tool.

