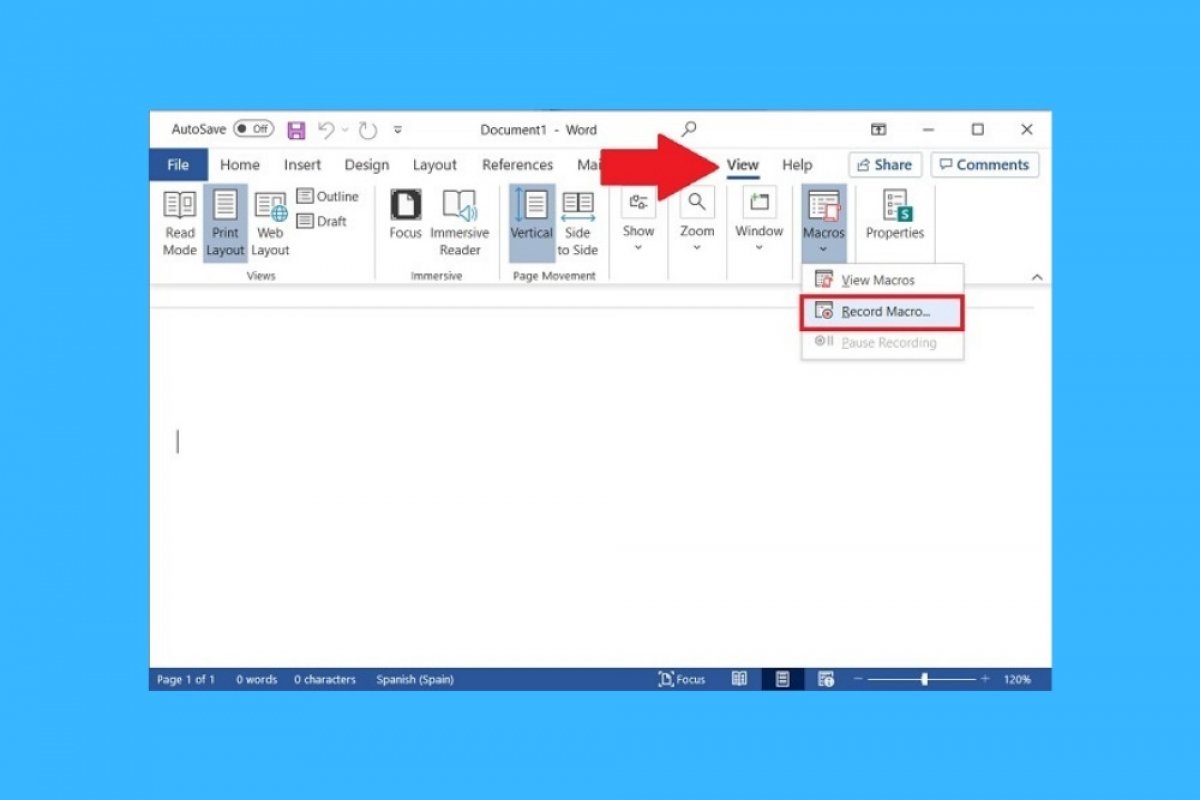
Microsoft Word lets the user simply create macros. A macro is a set of recurring actions that are applied using a button or a keyboard shortcut. Thanks to this function, you can be more productive, avoiding performing the same actions over and over again.
To understand it better, let's move on to practice. First, you must click on the View menu. There, select the Macros button and, in the pop-up menu, click on Record Macro.
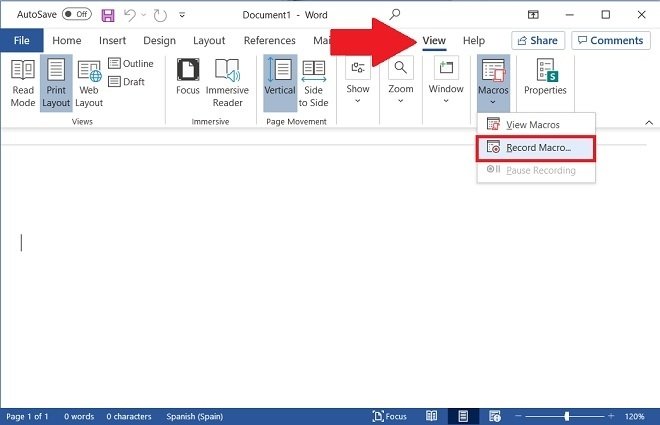 Start recording a macro
A window with some settings will appear on the screen. First, name the macro. This way you will be able to identify it better. Next, select whether you want to associate it with a button or a keyboard shortcut. In Store macro in choose whether the macro should be available in all documents or the file you are editing. Finally, add a description. To start recording the macro, click OK.
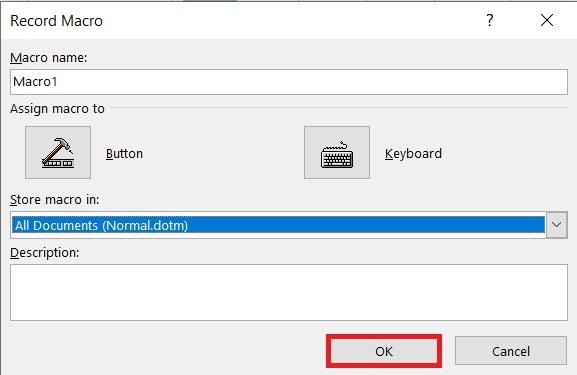 Configure the macro
When Word starts recording your actions, the cursor will change its appearance. In our case, we have made the following modifications:
- Writing of the text "Malavida".
- Marking of the text in yellow color.
- Inserting a line break.
After performing these actions, we have stopped recording the macro. How? Go back to the View menu, open the Macros section, and click on Stop Recording.
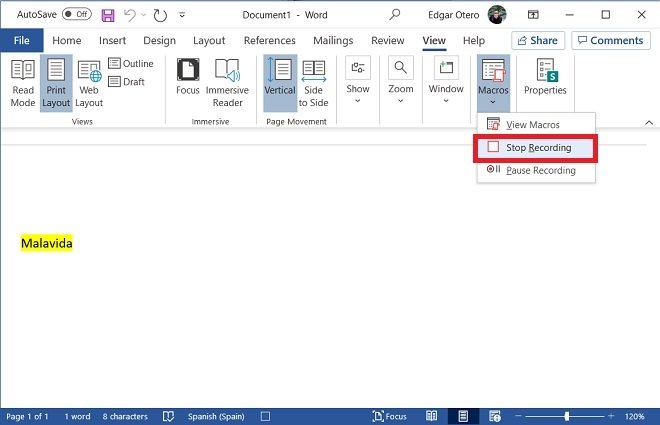 Stop recording the macro
Previously, we had associated the macro with the shortcut Control + M. Therefore, every time we use this combination, the text "Malavida" will be added, marked in yellow, and a line break will be inserted. If we activate the macro, again and again, the result is as you can see in the following screenshot.
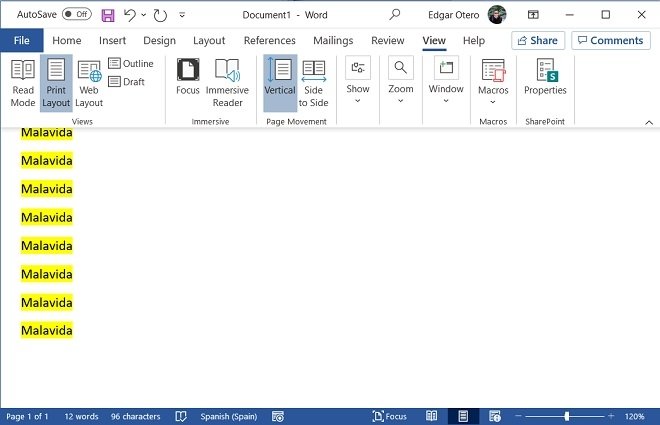 Repeated use of the macro
Macros can be very complex. Obviously, the actions we have included in our example are very simple and are intended to help you understand exactly how this function is controlled. However, when you start recording a macro, Word will record every action you perform. You can then repeat them over and over again by simply clicking a button or pressing a key combination.

