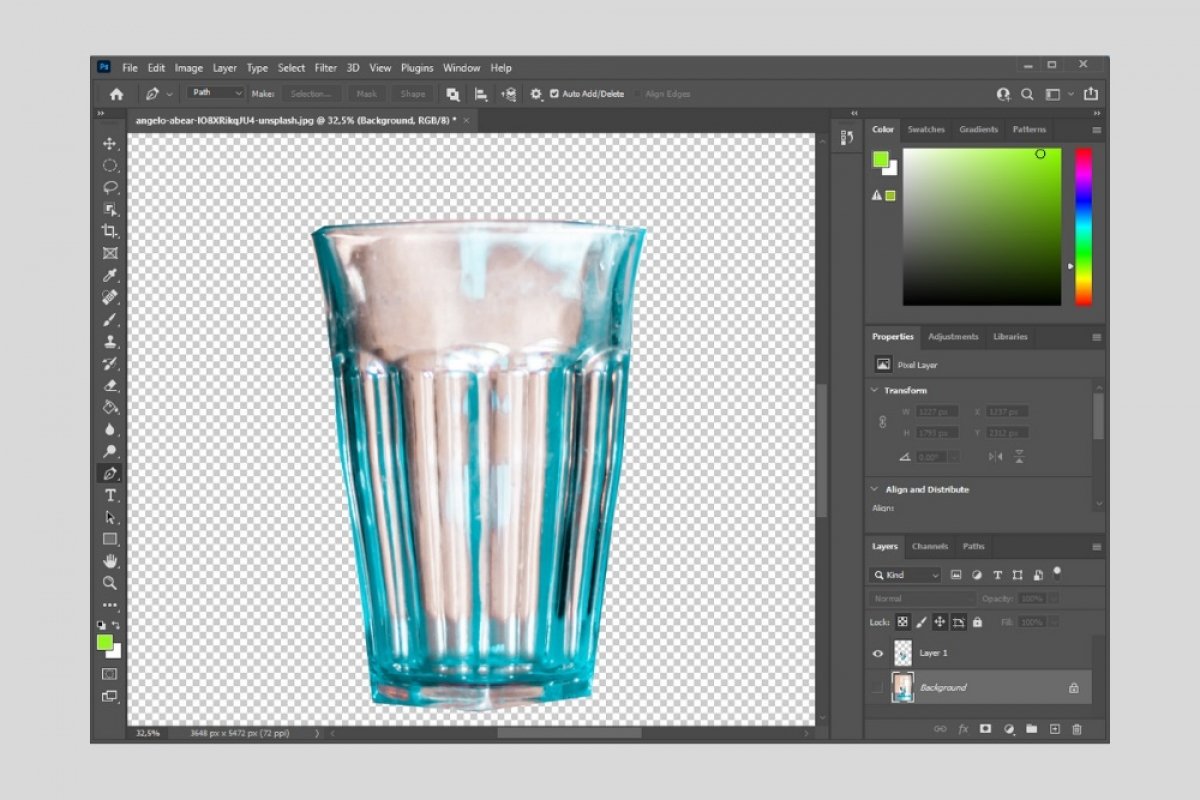
Photoshop lets the user select any target within an image by creating a silhouette. Subsequently, it is possible to isolate it from the rest of the content and insert it into other projects. This method is commonly used to remove the background of a photo.
To get started, all you have to do is activate the pen tool.
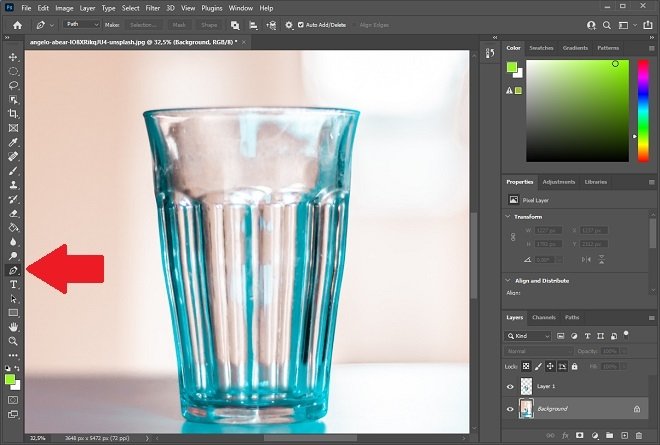 Pen tool
Tap the silhouette of the object you want to select. Remember that the more points you add, the more accurate the trimming will be. To improve your accuracy, zoom in as much as necessary. Do not forget to close the selection completely, adding nodes until you reach the first one you inserted.
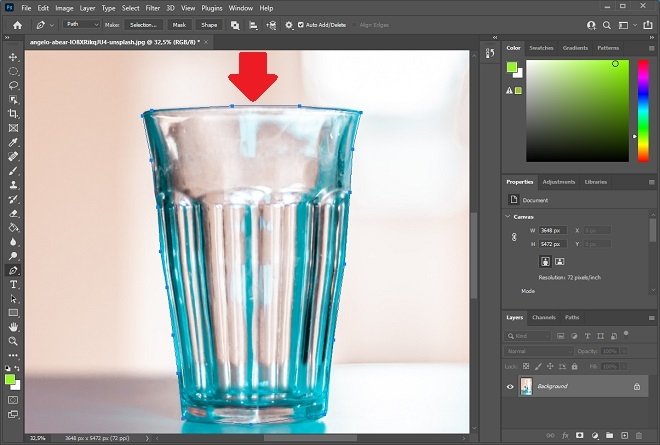 Select an object
Once the silhouette is finished, right-click, and from the context menu, select Make Selection.
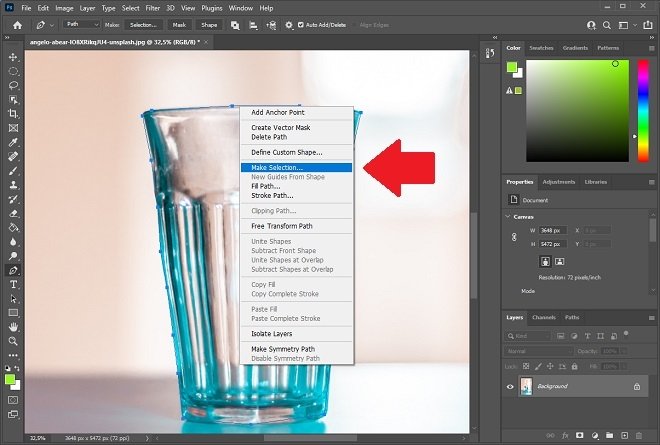 Make a selection
Sets the radius to be applied to the selection. This setting blurs some pixels near the silhouette to minimize the effects of clipping. Click Ok to continue.
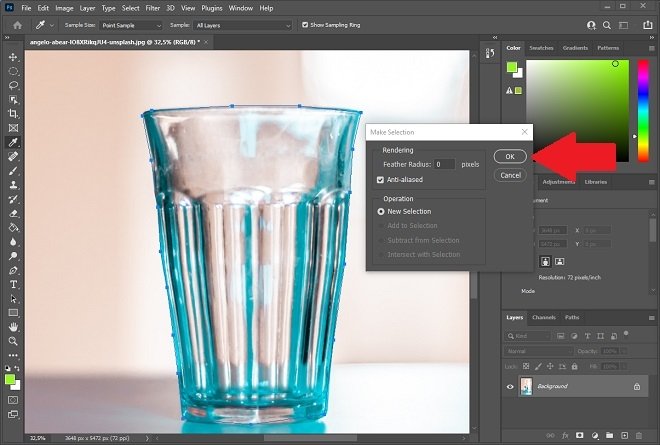 Select the radius
On the canvas, you will see that a selection has been created that matches the shape you created using the pen tool. Now, simply use the keyboard combination Control + J. With it, Photoshop will create a new layer with only your selection. In our case, the result is a layer with the original image and another one with just the glass.
To see the effects of the clipping you have performed, you must ask Photoshop not to show the background layer by clicking on the eye icon next to the Background layer. Of course, you can also remove it completely.
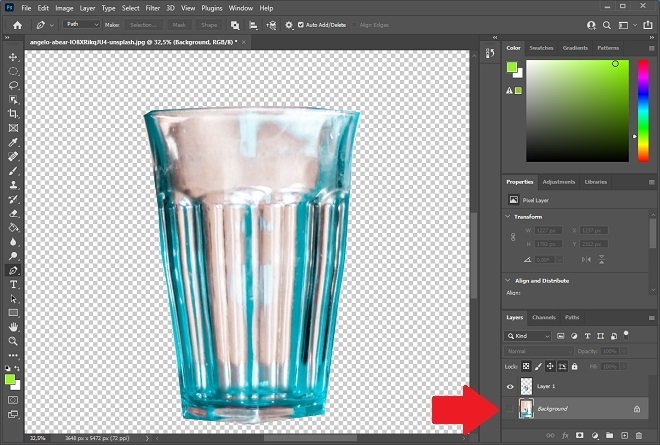 Remove the background
The checkerboard background indicates that the entire area is transparent. At this point, you can use the clipping in another project, inserting it thanks to the copy and paste function.

