A DLL file is an indispensable part of many applications developed for Windows. Within a DLL, there is an executable code that lets a software work correctly, either in its entirety or partially. DLL stands for Dynamic Library Link.
Removing certain DLLs can have disastrous results. Therefore, before doing anything, you must be sure that the DLL files you are going to delete are no longer necessary. Otherwise, the operating system could stop working, in the worst case, completely. On the other hand, removing DLL files that are no longer used can be beneficial to the performance and health of your computer. The latter are usually residues of programs you have already removed. For this last task, we recommend the DLL Archive.
This tool is responsible for locating all the DLLs on your computer, determining which ones are no longer needed, extracting them, and archiving them in a folder. After its simple installation, just run it and click on Configuration.
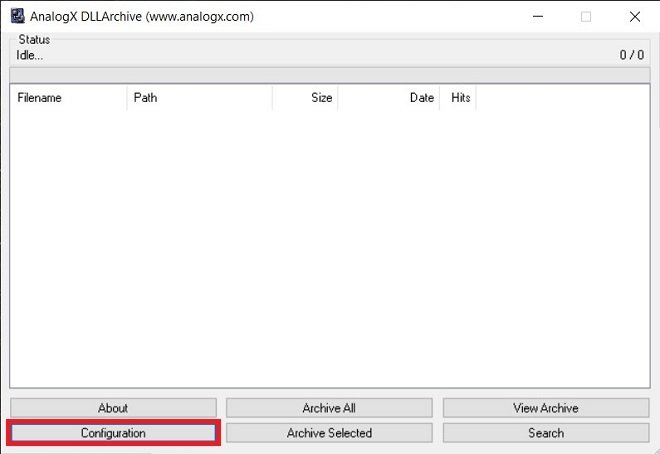 Configure the search
Then, enable the Only display 0-hits option. You must set it to Enabled.
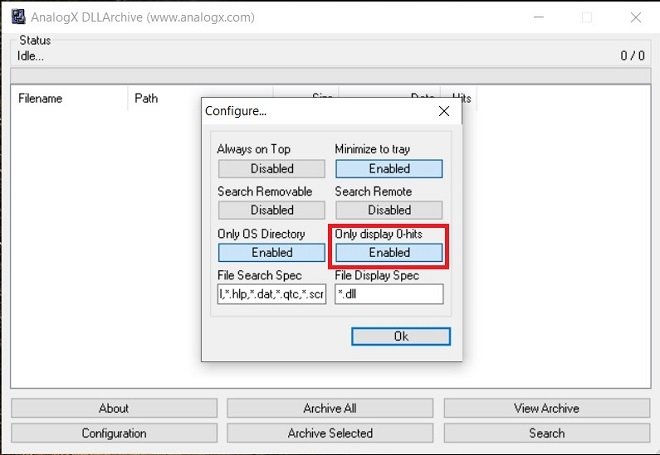 Search only for orphan DLLs
Now, start the DLL file search with the Search button.
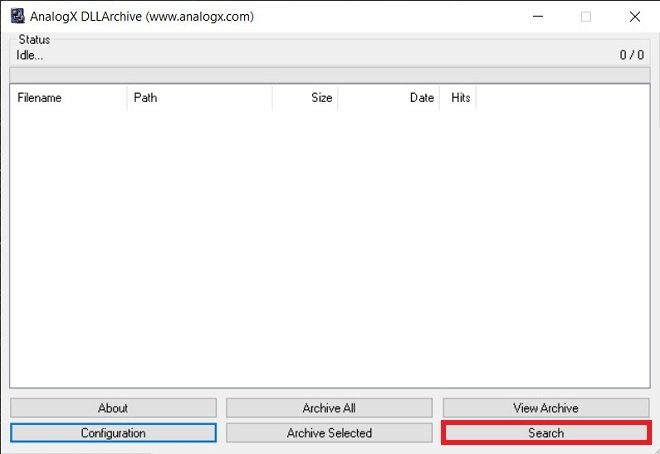 Start searching
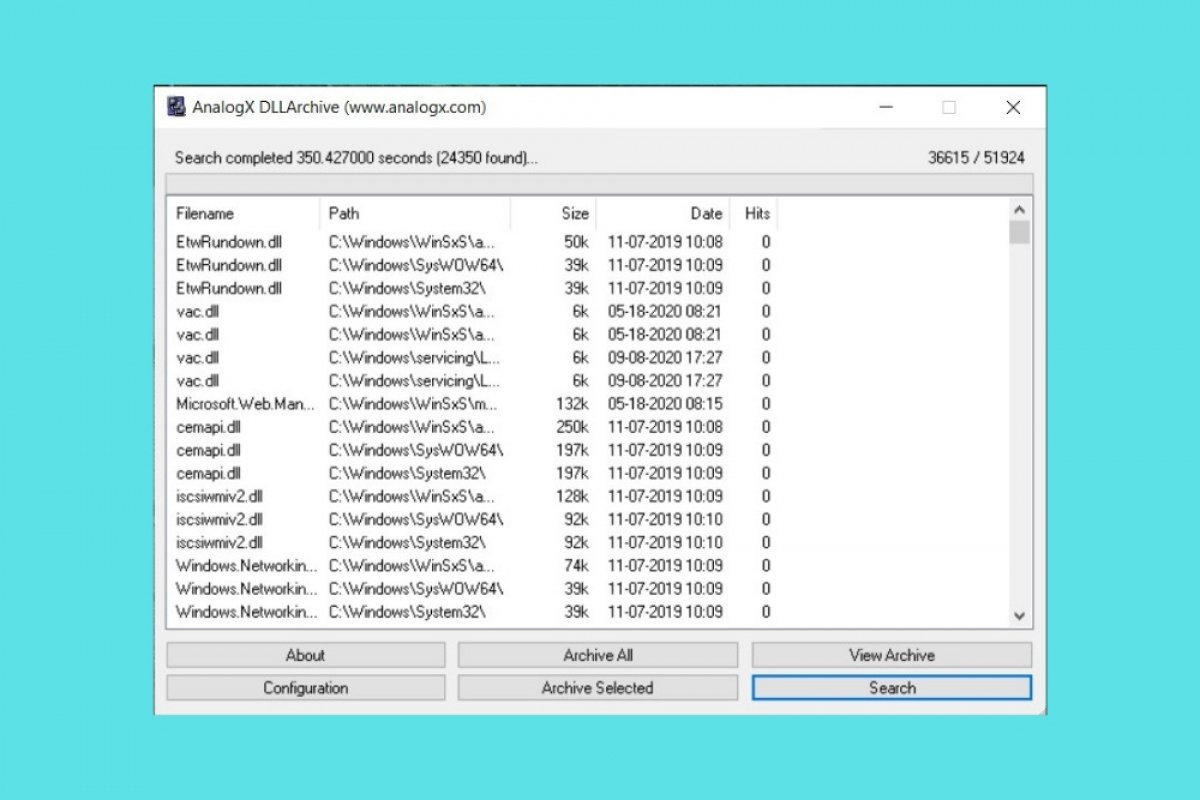
Wait for the hard disk scan to finish. When it is finished, you will see a complete list of all the orphaned DLL files. Simply click on Archive all to archive them permanently.
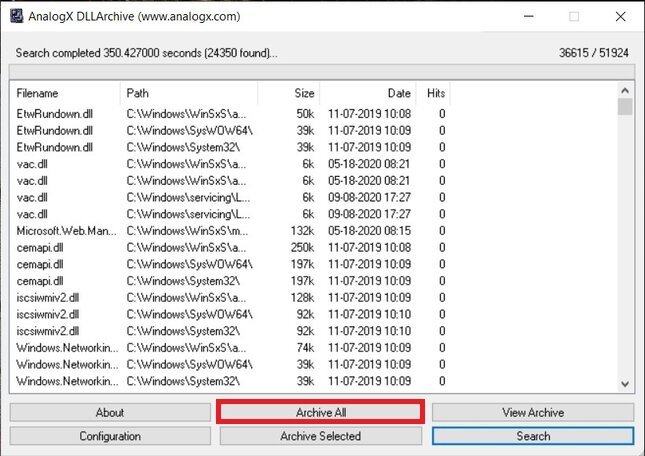 Remove all the DLLs
You must check that, in the list, only those unnecessary DLLs are shown, marked with a 0 in the Hits section. Otherwise, you may end up archiving important DLLs. The copy of all your unused DLLs is located in C:\Windows\DLLArchive.
Once you have all the unnecessary DLLs isolated, restart your computer and check that everything works correctly. If this is the case, it means that the library extraction has been performed satisfactorily. In that case, you can delete the DLL Archive folder permanently. If something has gone wrong, go to the same folder and open the text file filelist.txt to check the original path of each DLL. This way, you can restore them if necessary.

