

To import contacts from an Excel file to Outlook, you first need to open the workbook sheet containing the contacts you want to save in the e-mail manager. When you have it open, go to File > Save As. You will see the following window:
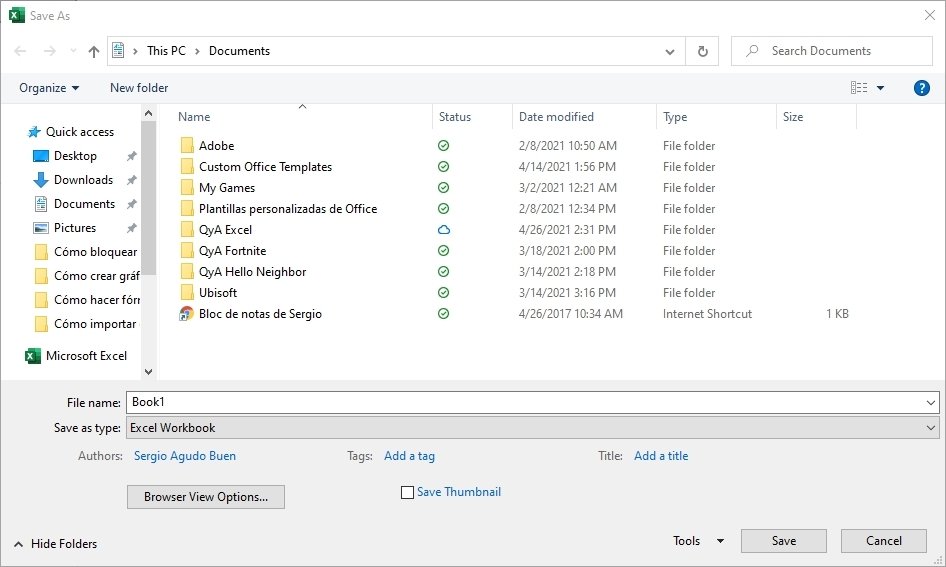 Saving the workbook
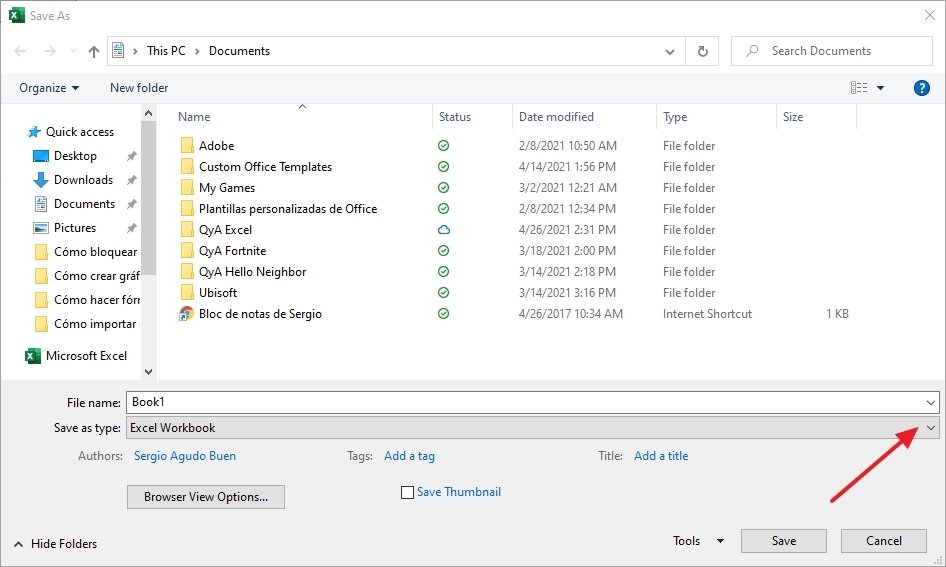
Browse to the location where you want to save the file. Once there, click on the tab that lets you select the type of file to save the book in:
 Saving as a CSV
From all the available ones, click on CSV:
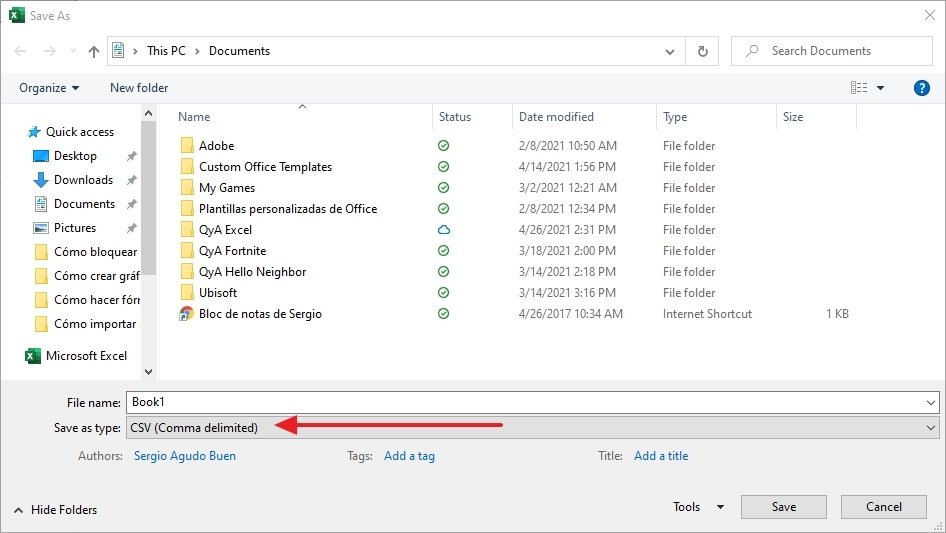 Type of file selected
Click on the Save button. You will get the following message on the screen (do not worry, this is a limitation that only affects CSV files; your original workbook will remain the same):
 CSV limitation notice
Click OK and you will get the new file. Now, the original Excel file will be closed, and the CSV file will be opened. Close it yourself and open Outlook. At the top of the mail manager window, select File:
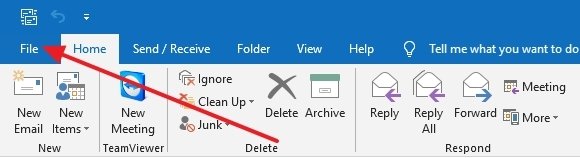 File menu in Outlook
Click on Open and Export:
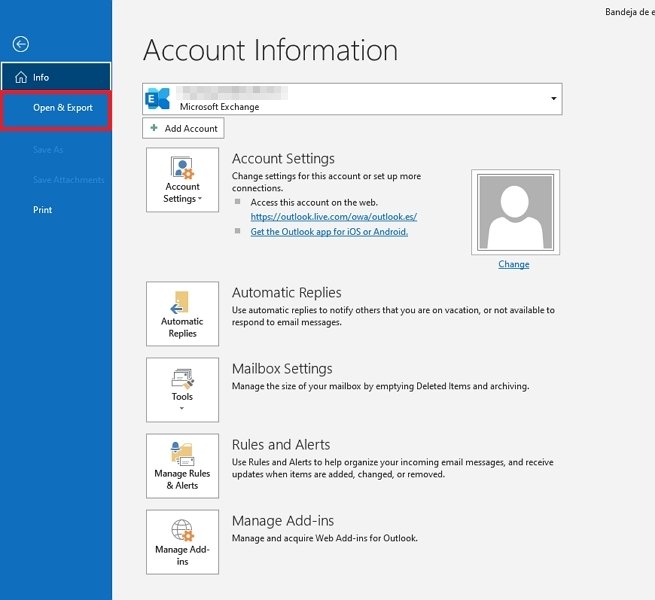 Open and export menu
Then, click on Import / Export:
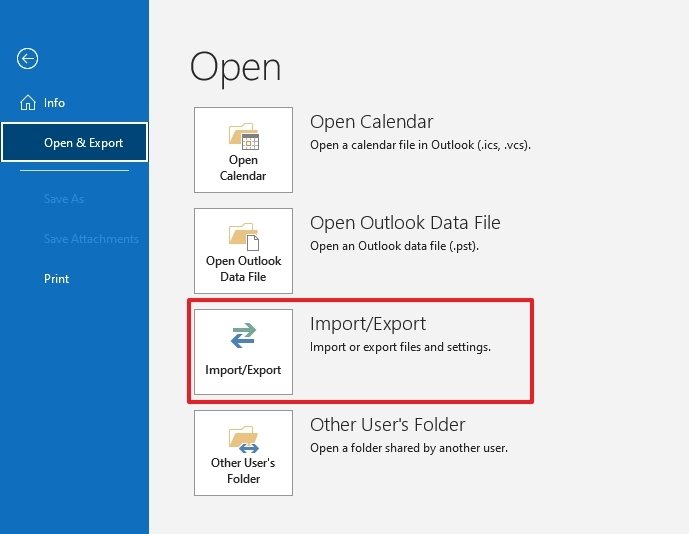 Import Export button
In the window that appears, select Import from another program or file and click on Next:
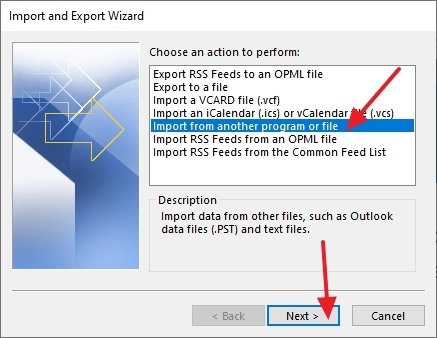 Import from another program or file
Then, select Comma Separated Values, and click Next:
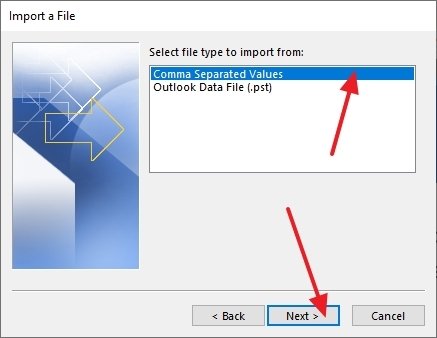 Selection of CSV values
Browse for the CSV file that you want to import by clicking on Browse and click Next:
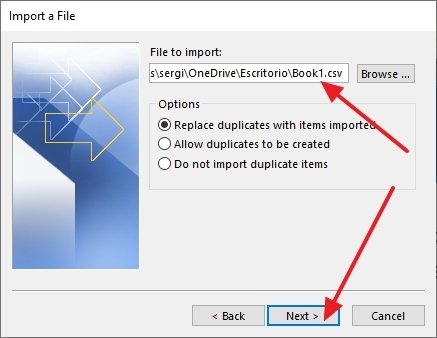 Selection of the CSV file
The Contacts value should be selected by default. If this is not the case, scroll up or down until you find it and select it. Once you have it, click Next:
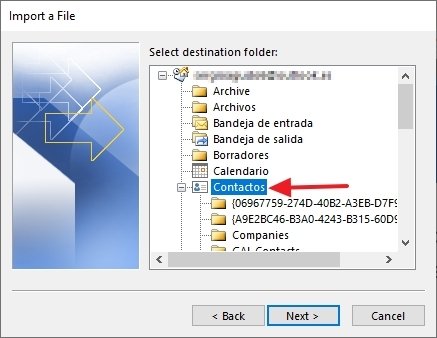 Selecting the destination folder for the imported data
Make sure that the box next to Import filename.csv is checked:
 Customized field mapping
Now, before finishing the process, we have to match the CSV file columns to the Outlook contact fields. To do so, click on the Assign custom fields button:
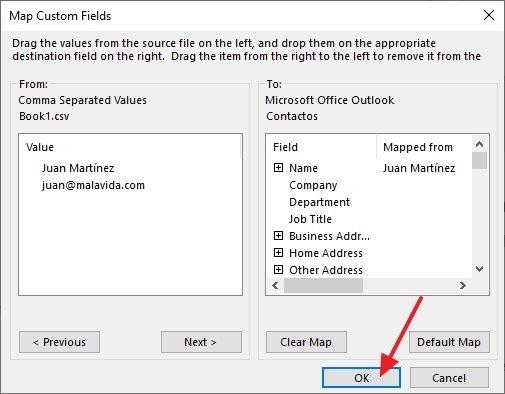 Mapped fields
Matching fields will be matched automatically, but you may have to match some manually. Click on Finish and the process will be complete:
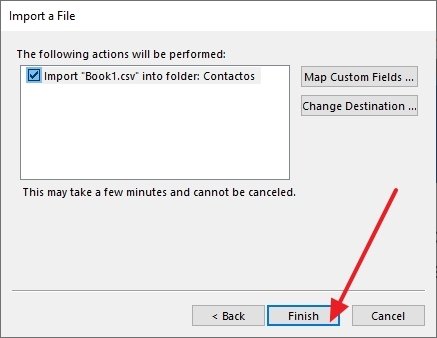 Button to complete the import
The process seems a bit difficult, but if you follow the steps described below, you will have no problems.
