We show you step by step how you can install VLC Media Player on a Windows computer and also how you can remove it when you do not want to use it anymore.
How to install VLC Media Player on Windows
To install the VLC player in Windows, download the installation file by clicking on the green Download button that you can find at the end of this guide. That button will redirect you to our VLC review. Click the green Download button visible at the top and confirm the operation on the next page by clicking the same button again. Note that depending on the browser you use, the file may start downloading directly or the operating system may ask you through a pop-up window to decide if you want to save the file or open it directly.
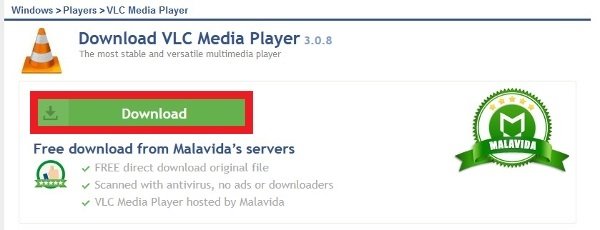 Button to download the VLC Media Player installer
When the download is complete, you will have the file in the Downloads folder that you have selected in your web browser. Double-click on the file and the operating system will show you its contents, although you will have to extract it in a new folder with the file decompressor available in Windows 10 or with other software such as WinRAR or 7-Zip (right-click on the file and select Extract All). You will find two files, one for 32-bit operating systems and one for 64-bit operating systems. Double-click on the file that corresponds to your version of the operating system.
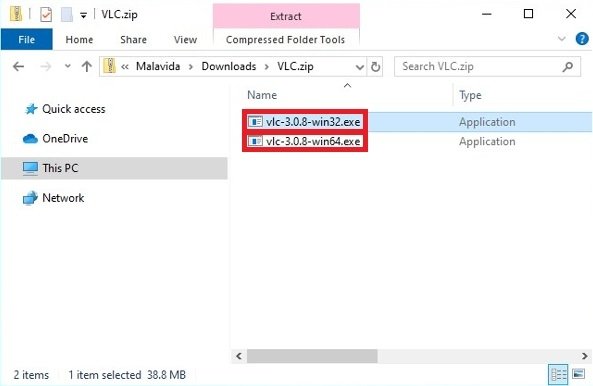 Choose between the 32 or 64-bit VLC EXE file
If the operating system asks you for permission as in this case, press Yes to continue with the installation.
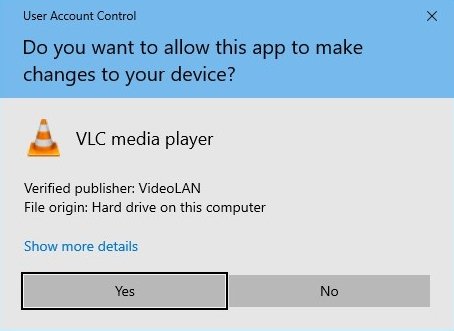 VLC’s permissions to make changes to the system
Select the installation language. As usually happens with open source projects that are very popular, we will have a wide range of languages available. You just have to open the menu, click on the language you want and click on Ok.
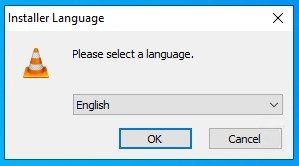 Choose the language of the VLC installer
You will see a new pop-up window with a welcome message and some installation recommendations, such as closing other programs so you can make changes to system files without having to restart your PC. Click on Next in the lower right part.
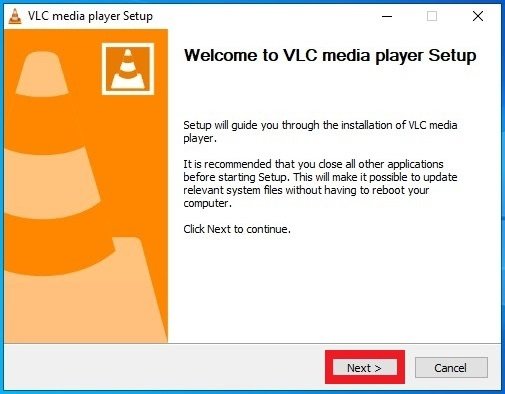 Welcome screen of the VLC installation process
The next window that appears is the license agreement. Read the content and if you agree with everything, click below the Next button.
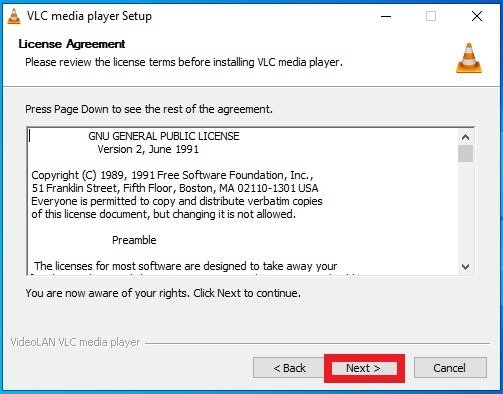 VLC license agreement
Time to select the components of the program to install. In addition to the player, which is the only mandatory option, you can decide on shortcuts in Start menu and Desktop, Mozilla and ActiveX web plug-ins, disc players, context menus, cache clearing, preferences and the association of audio and video file types. Select the boxes for the components you want to install and click Next.
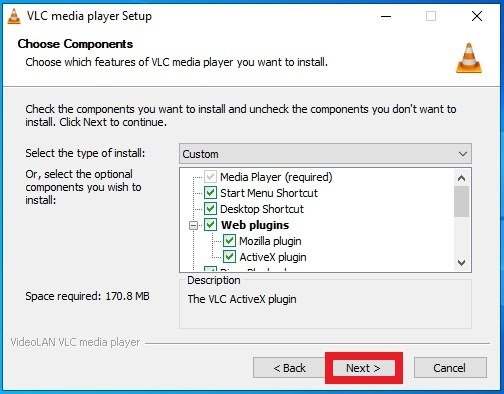 Choose the components for VLC’s installation
Choose a location on your hard drive and click Install. It offers one location by default, which is where Windows programs are usually installed, but the user can choose any location with the Browse button.
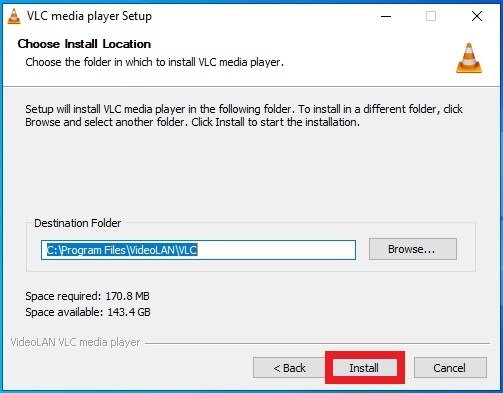 Choose the folder to install VLC on Windows
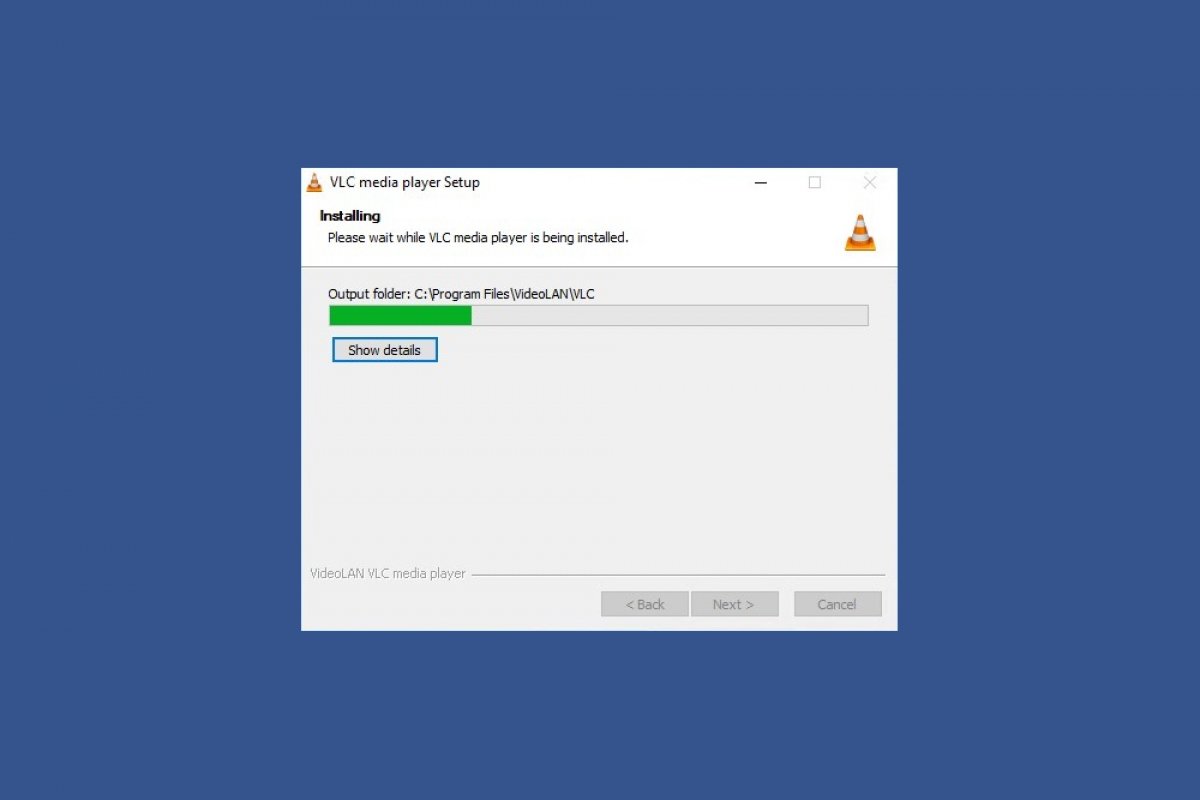
You will have to wait a few seconds while the installer makes the necessary changes to the operating system to include VLC among your programs. You can see how the process is progressing with a green load bar.
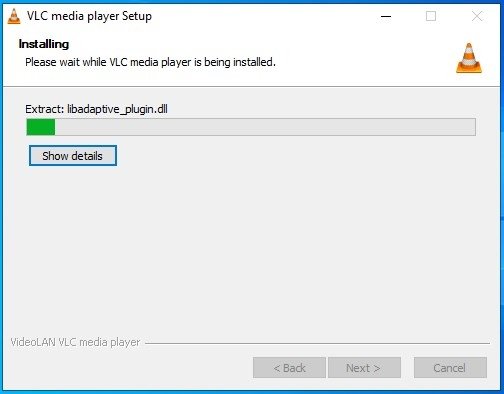 Evolution of VLC’s installation process
When the installation is complete, a new warning window will appear indicating that VLC has been successfully installed. Here you have two options, click the Run VLC Media Player option box and then the Finish button, which will open VLC directly, or uncheck the box and click Finish, which will leave you in front of your workspace to continue working normally.
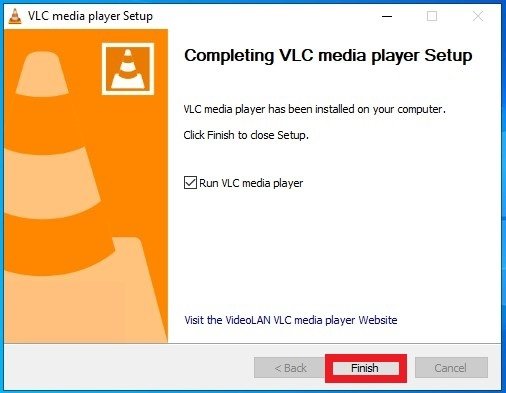 VLC installed and ready to be used
How to uninstall VLC Media Player on Windows
There are several options for uninstalling VLC from a Windows computer. The first and simplest is probably to open the Windows menu, look for VLC in the list of installed programs and right-click on its executable, which will open a menu with the Uninstall option. Click on it.
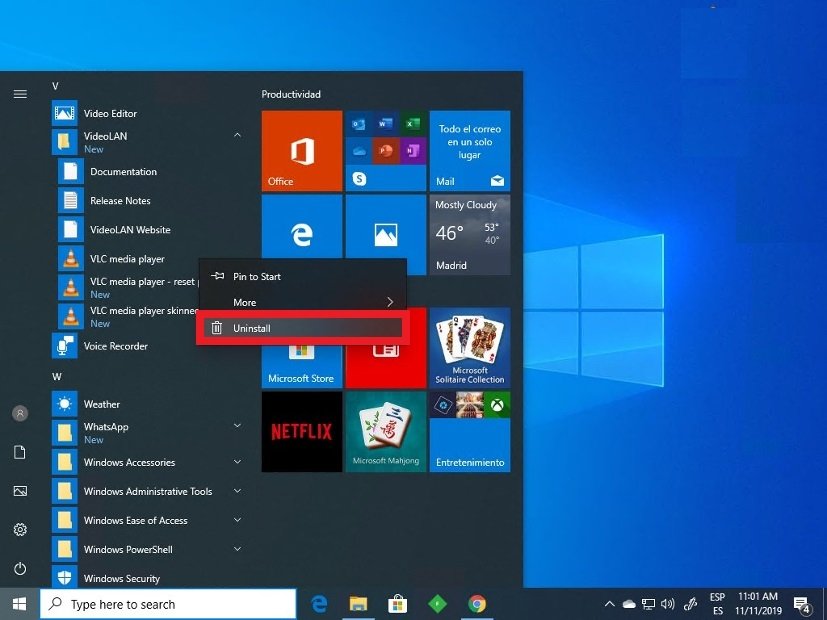 Uninstall VLC from the Windows menu
You will be taken to the typical Windows programs and features menu where you can see all installed programs with their information. You can get to this same menu in more ways, for example by opening the Windows menu and accessing the settings via the gear-shaped icon, or by directly typing Uninstall programs. The operating system will show you a shortcut to the corresponding tool.
Search the VLC list and right-click on its entry to see the Uninstall option. You can also select VLC and search at the top of the list for the Uninstall/Change button.
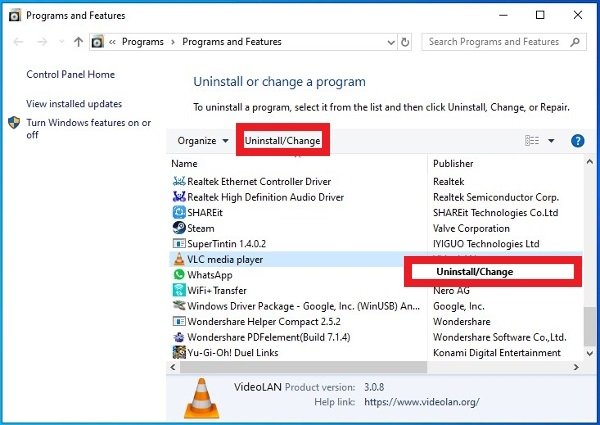 Two options to uninstall VLC
The operating system may ask you for new permissions for VLC to make changes to the system. Click on Yes.
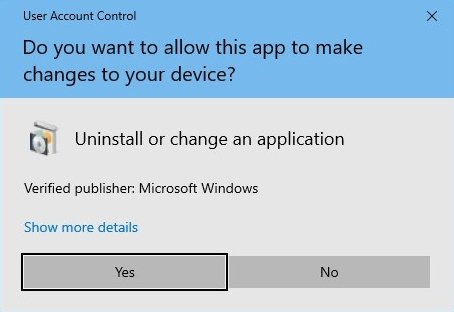 VLC’s permission to make changes on Windows
In the next window, the uninstall process will ask you for the path to the directory where VLC was installed. If you have not made any manual changes, the uninstaller wizard will locate the folder. Click Next, the first button of the two visible in the lower right corner.
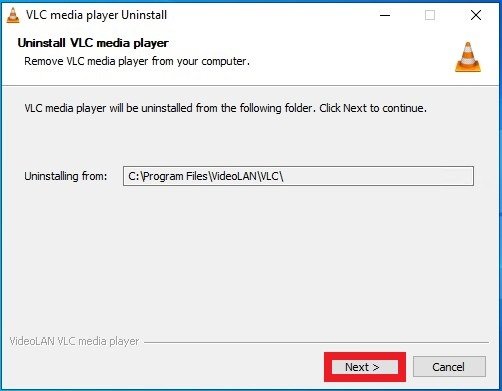 Choose VLC’s folder to be uninstalled
In the end, a window will ask you if you also want to uninstall preferences and cache memory intended for the use of the program. Check or uncheck the box and click Uninstall in the lower right corner.
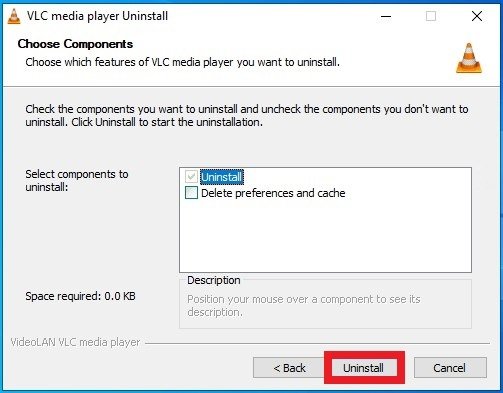 Press Uninstall to delete VLC from your PC
After a few seconds in which you will see a green progress bar, a new window to be skipped will pop-up with a warning, this window informs you that VLC has been uninstalled correctly. Click on Finish to finish the process.
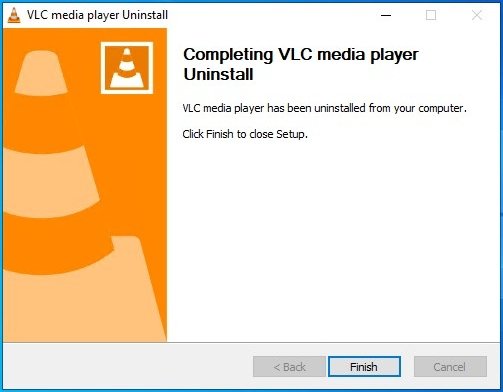 VLC fully uninstalled from Windows
