
To be able to install Google Chrome extensions that you’ve downloaded from our web to your Windows computer, simply follow these steps:
Open the browser, type in chrome://extensions/ in the address bar and press Enter on your keyboard.
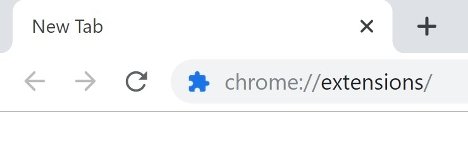 Access to the extensions section through Chrome’s address bar
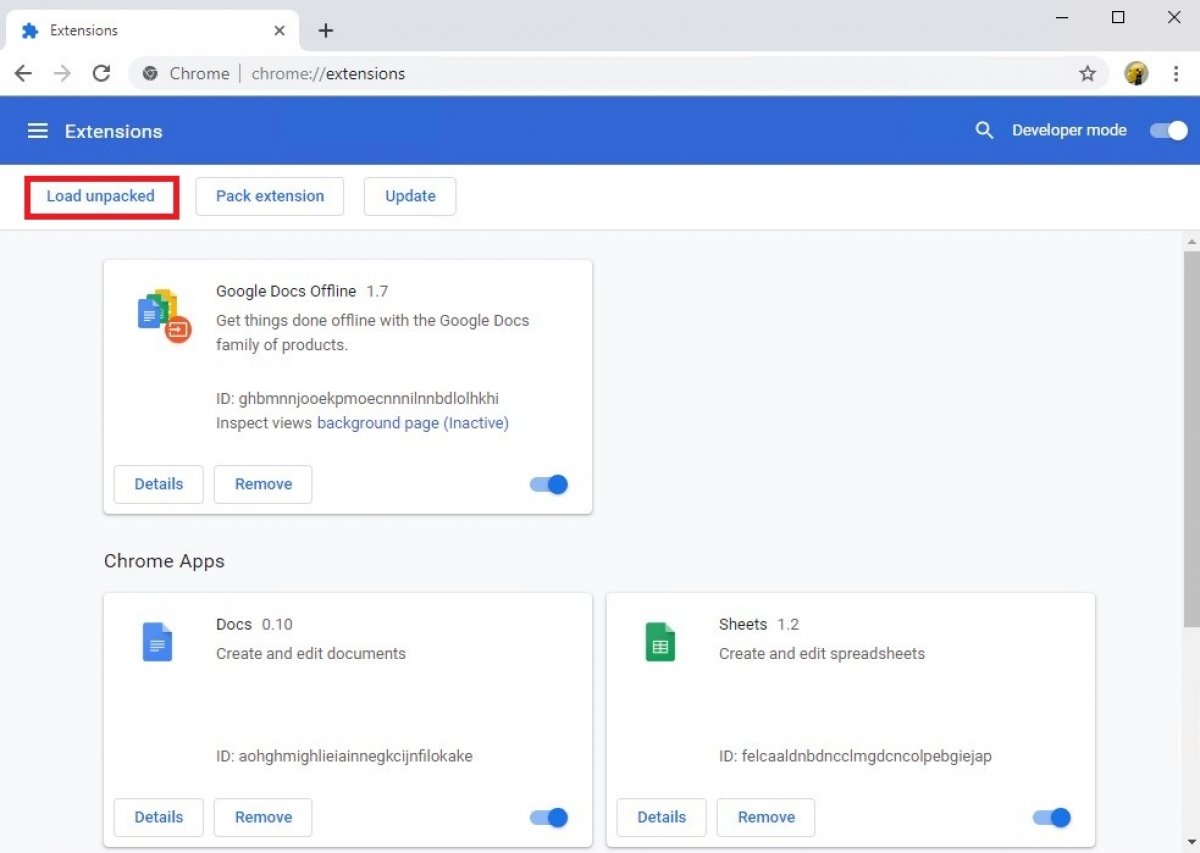
In the new window, check the Developer Mode option in the top right corner by moving the toggle with a mouse click.
 Enabling the developer mode in Chrome
Now locate the ZIP file with the extension you want to install and that you’ve previously downloaded. Unzip the file with any extractor such as the one included on Windows (right click and Extract All...).
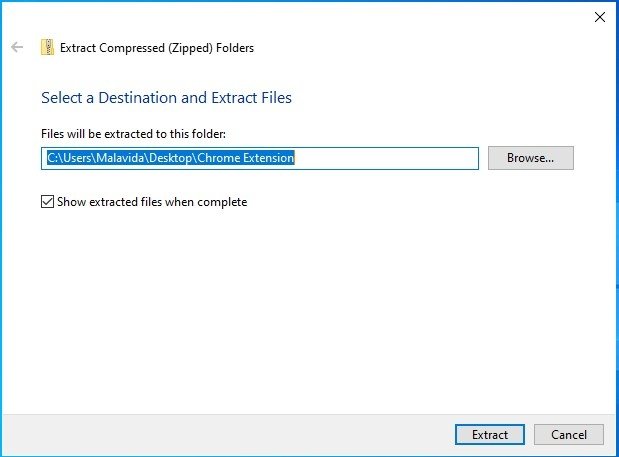 Unzipping the content of a Chrome extension
In Google Chrome, go back to the chrome://extensions/ URL and press the Load unpacked button that can be seen at the top of the list.
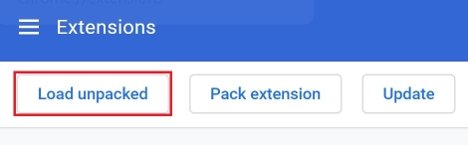 Button to download extensions in Chrome
Search for the unpacked ZIP file on your hard drive, select it, and press Select Folder in the bottom right hand corner.
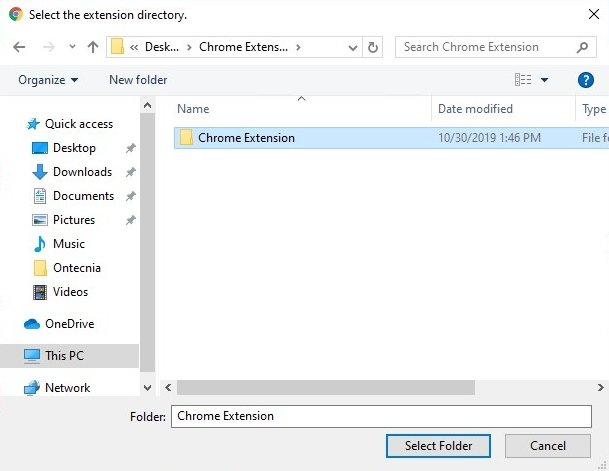 Loading the content from the unpacked ZIP of a Chrome extension
The installation process of Chrome extensions on Windows has changed greatly over the years. Although they could initially be installed easily even if they weren’t downloaded from the Chrome Store, Google has made the process more complicated with the intention to protect users against malware and other malicious code and, in fact, it only officially allows us to use extensions that have been published in the Chrome Web Store.
However, and as you’ve just seen, there’s still a secret way to install extensions manually on Chrome for Windows, mainly thinking about extension developers who need to test their creations before publishing them for the rest of the user community. The previous method has automatically become the best way to avoid this restriction, the alternative to be able to install extensions without trouble and bypassing Google’s limitations.
