Microsoft Publisher is the publication design tool that Microsoft includes in the Office package. By using it, you can create magazines, brochures, leaflets, flyers, and many other types of publications. In the following guide, we are going to explain the basic functions of this tool so you can start creating your own designs.
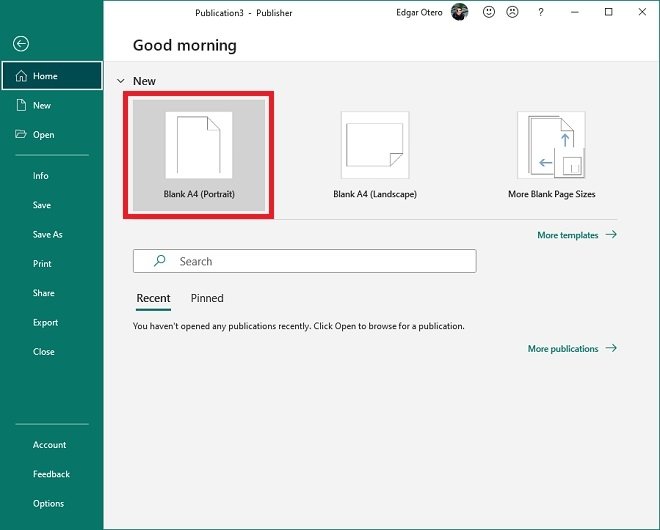
Start by opening a new blank project. All you have to do is click on Blank A4 in the application's welcome screen.
 Start a blank project
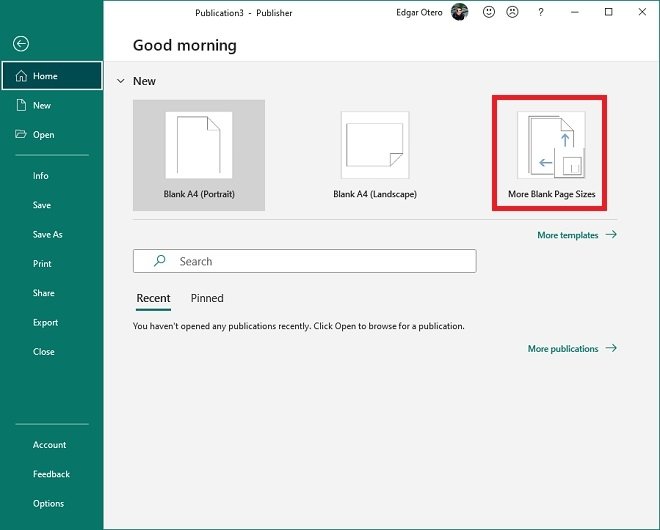
The button mentioned in the previous step creates a blank project in DIN-A4 format. If you want to see other sizes to fit your needs, click on More Blank Page Sizes.
 Choose other paper formats
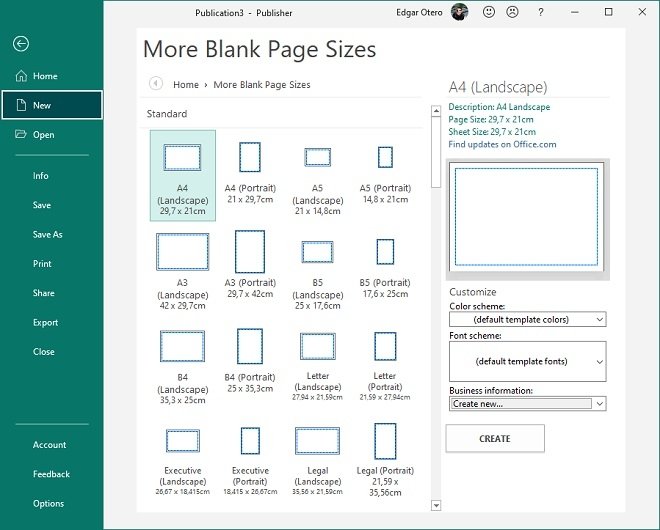
As you can see, there are many options. To choose one, just click on it.
 Showing all sizes available
Once you have started your new project, go to the Insert menu. There, you will see all the possibilities that this application offers in terms of adding objects.
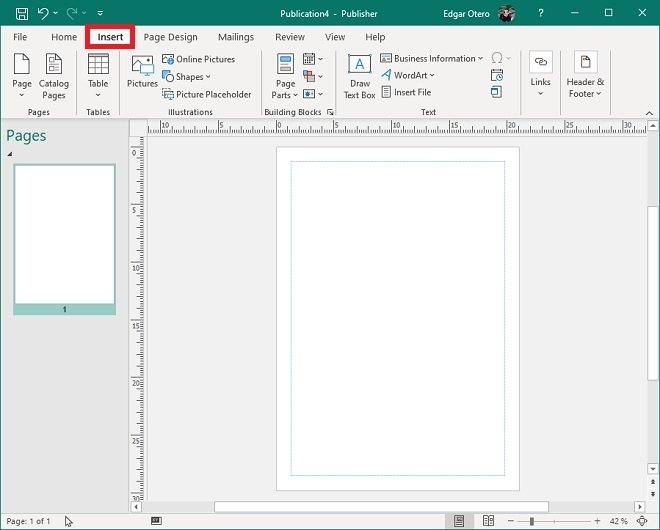 Insert menu
Although the options for adding elements are numerous, in this guide, we will focus on two. First, in text insertion. Use Draw Text Box to add a text box to your document.
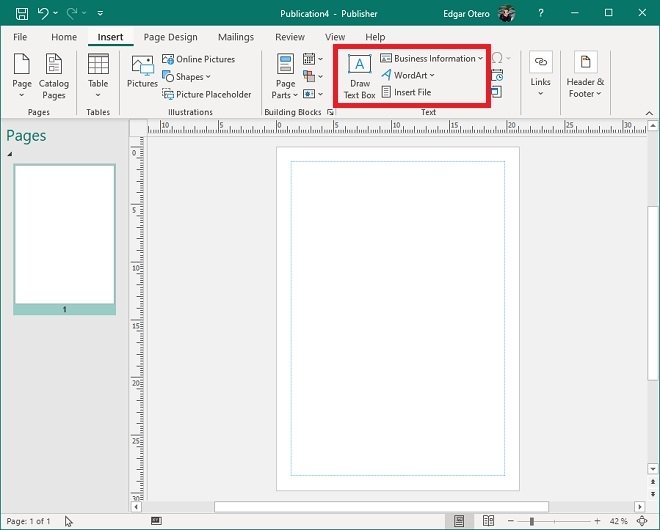 Inserting text
Whenever you select a text, the Format menu appears. Both, there and in Home, you will have all the tools to create the formatting of your magazine's texts.
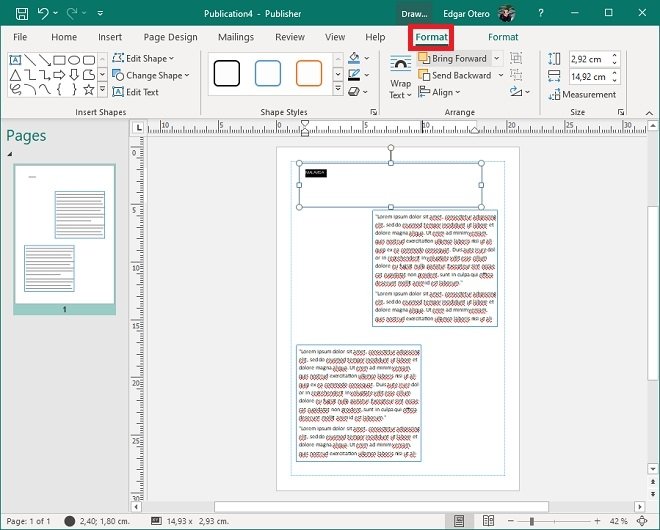 Text format options
Once you have inserted the necessary text, it is time to add graphics. Once again, go back to Insert and choose from the options you see in the following image. Each of them will let you add images from a different source.
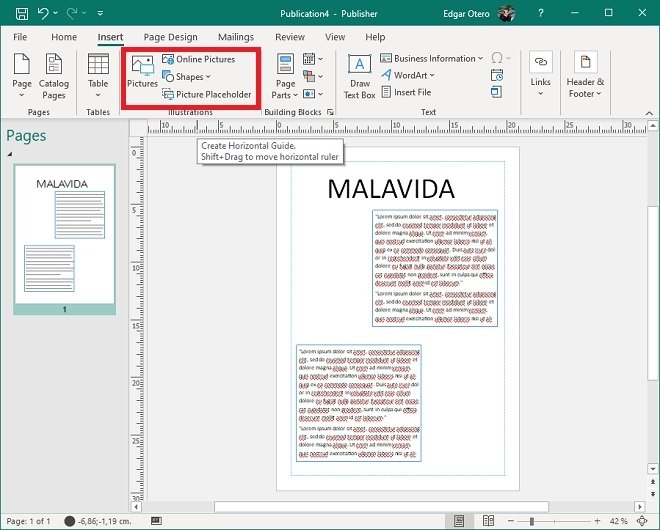 Image insertion options
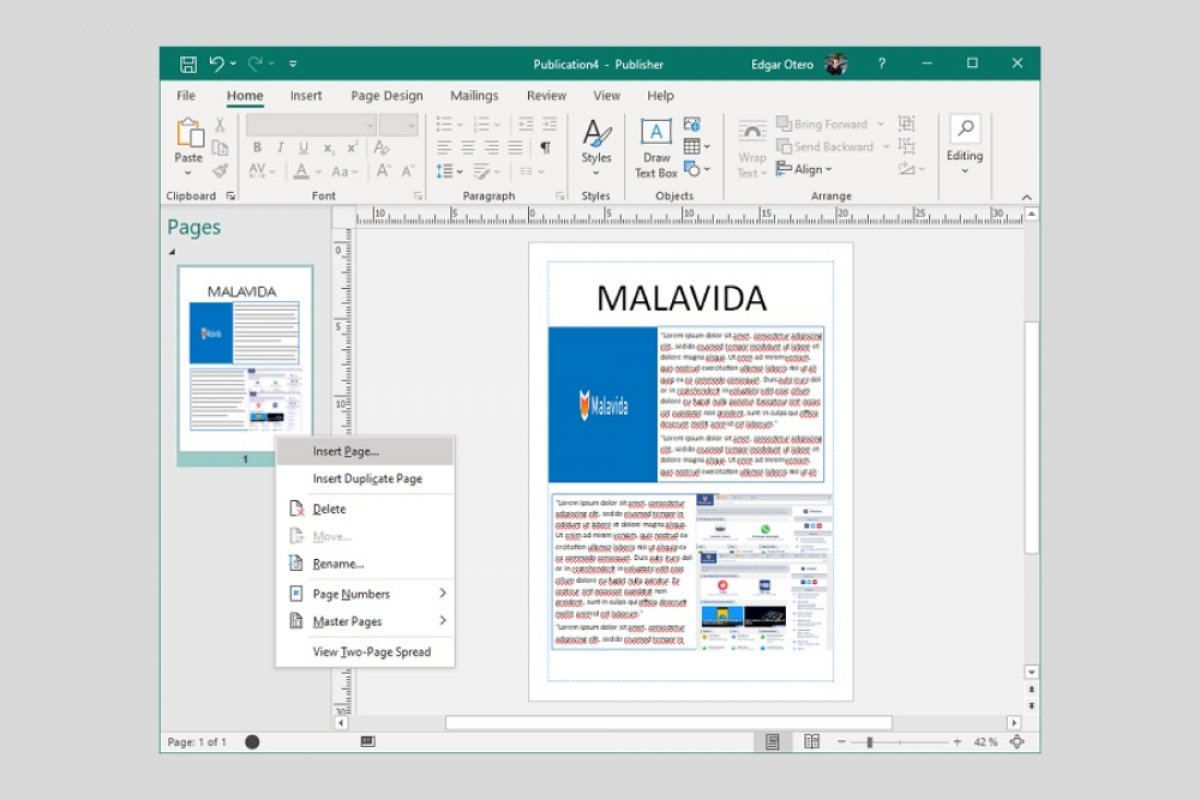
Once you have all the graphics needed for your publication, you can add new pages. How? By right-clicking on the page viewer and clicking on Insert Page.
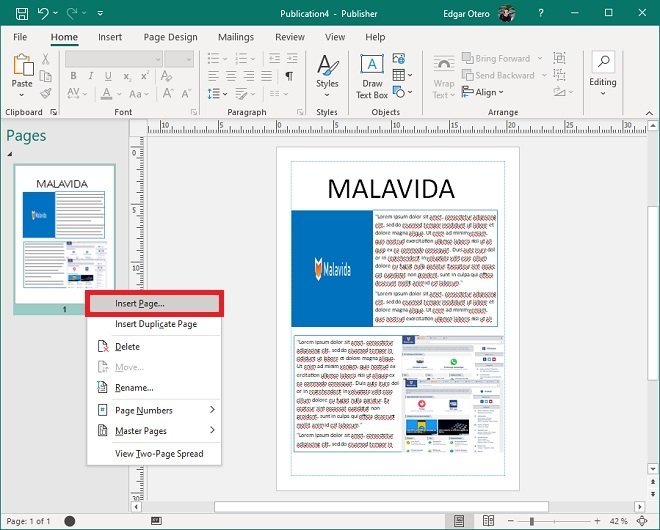 Add a new page
Repeat the steps above on the new page you have just created. Please, note that the process shown in this guide will give you a basic understanding of how to create publications. We recommend you take the time to explore all the options offered by Microsoft Publisher and get the most out of this tool.

