
Recording what is happening on your computer screen will help you share with others what is happening on your computer screen. For example, it is a perfect function to assist another user and explain how to carry out a certain process. Or maybe you just want to capture the last match you played in your favorite video game. In any case, in this article, we tell you how to record the screen in Windows 11 with and without applications.
How to record the screen without applications in Windows 11
If you do not want to install any of the applications mentioned below, then, your best option is to opt for the Xbox Game Bar, a tool integrated into the system. Access it with the keyboard shortcut Windows + G and click on the record icon to start.
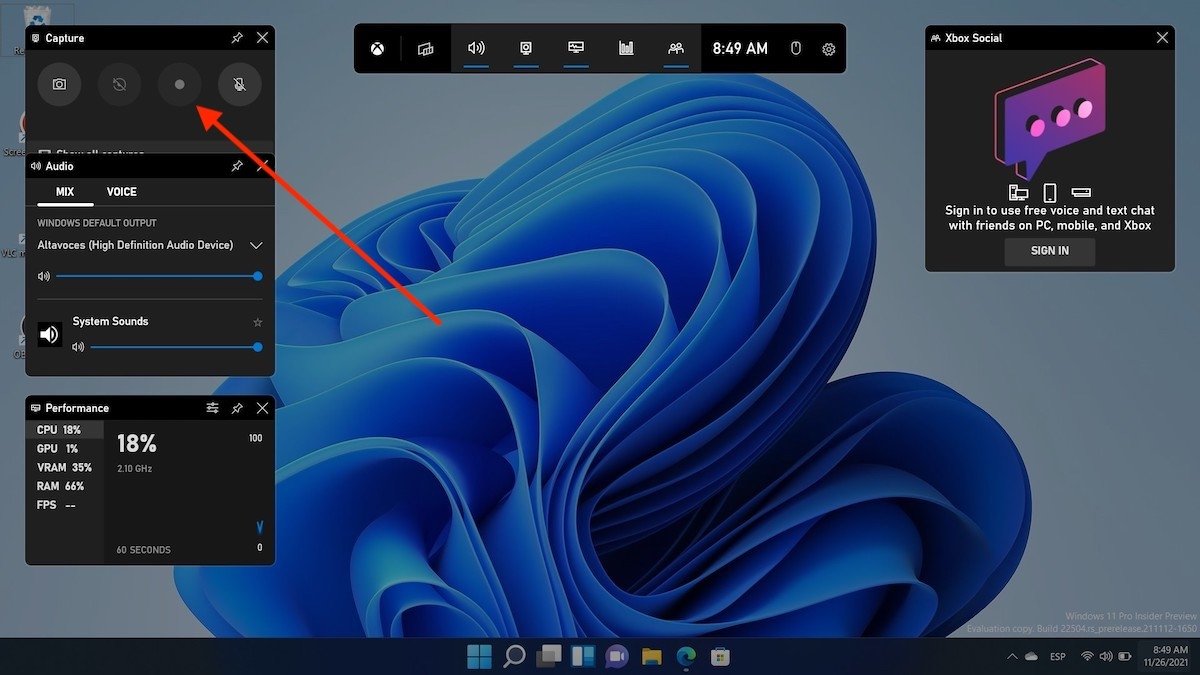 Xbox game bar
Please note that this option is limited to some specific applications. Therefore, you will not be able to start recording if you are on the desktop. You must do it, for example, from the browser. When you have finished recording, press the stop button.
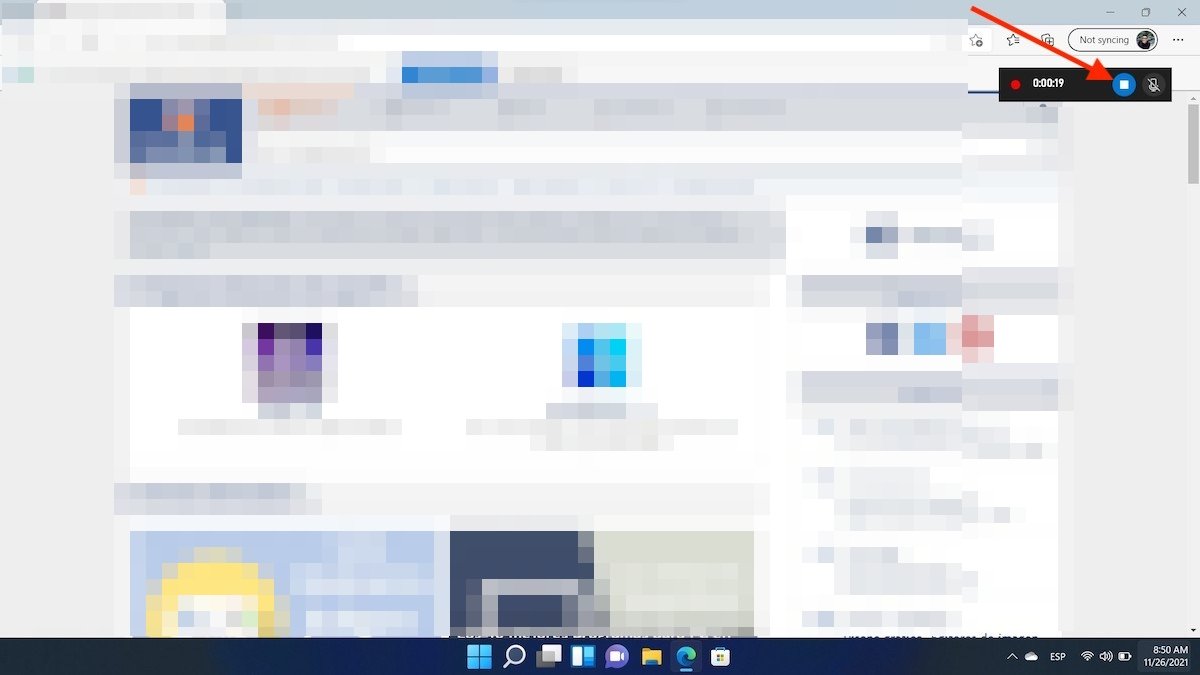 Pause the recording
Then, click on the message that will appear to access the screen recording you have just uploaded.
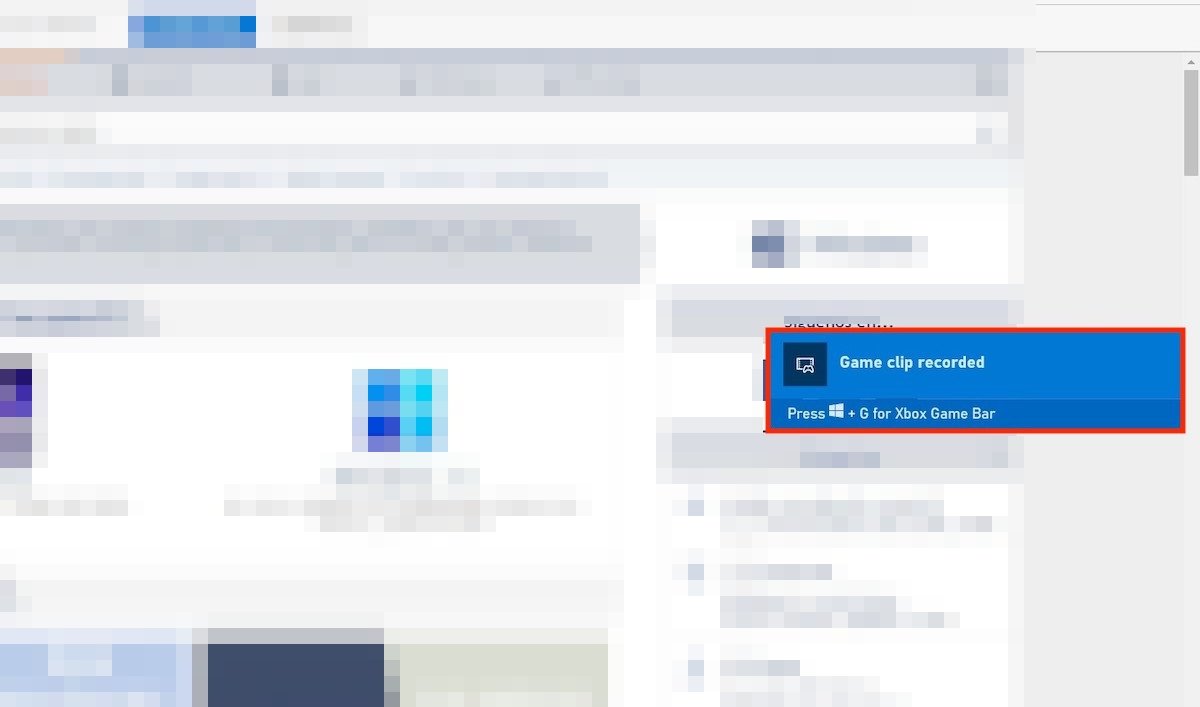 View the recording
Repeat the process with other applications to take more screenshots.
How to record the screen in Windows 11: best applications
We continue talking about the best applications to record the screen on your computer. The three options mentioned here are available for free from the Malavida servers. You only have to click on the download button that you will see attached in each section.
How to record the screen with ShareX
First, let's talk about ShareX, an open-source program that is ideal for capturing the screen in Windows 11.
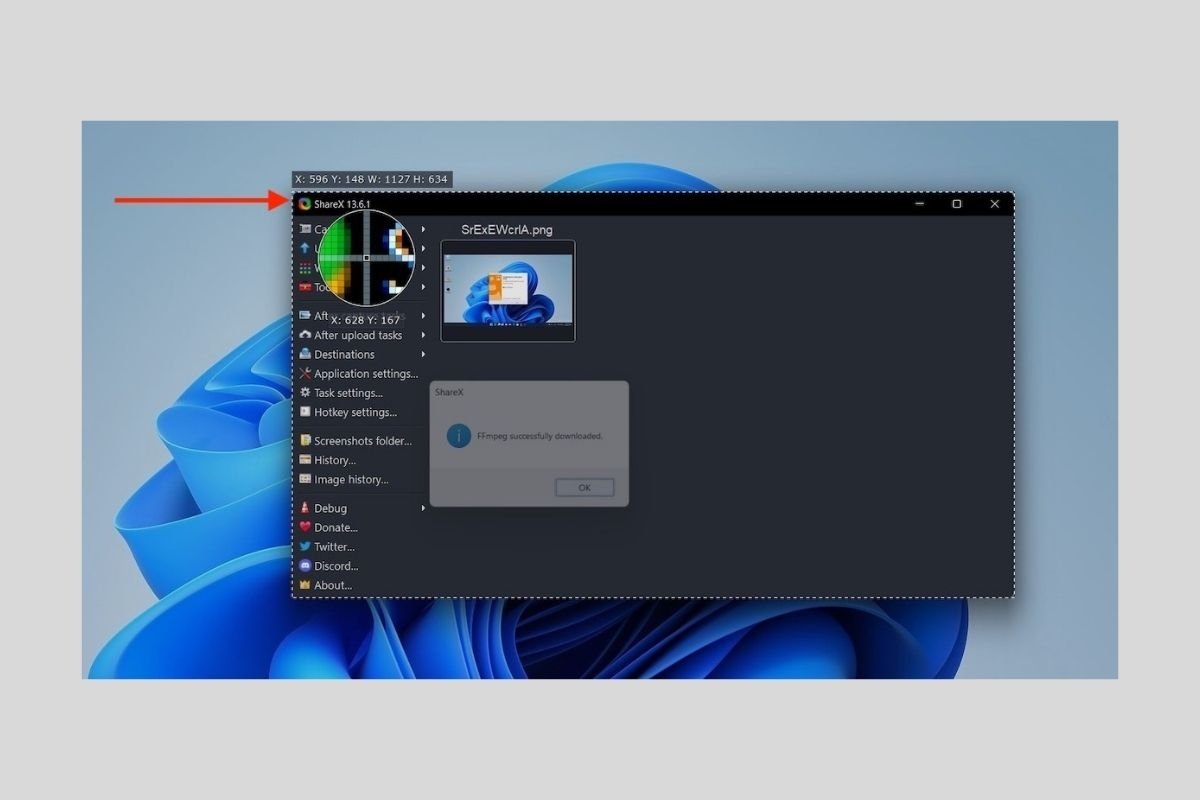
After installation, all you have to do is click on Capture, and then, click on Screen recording.
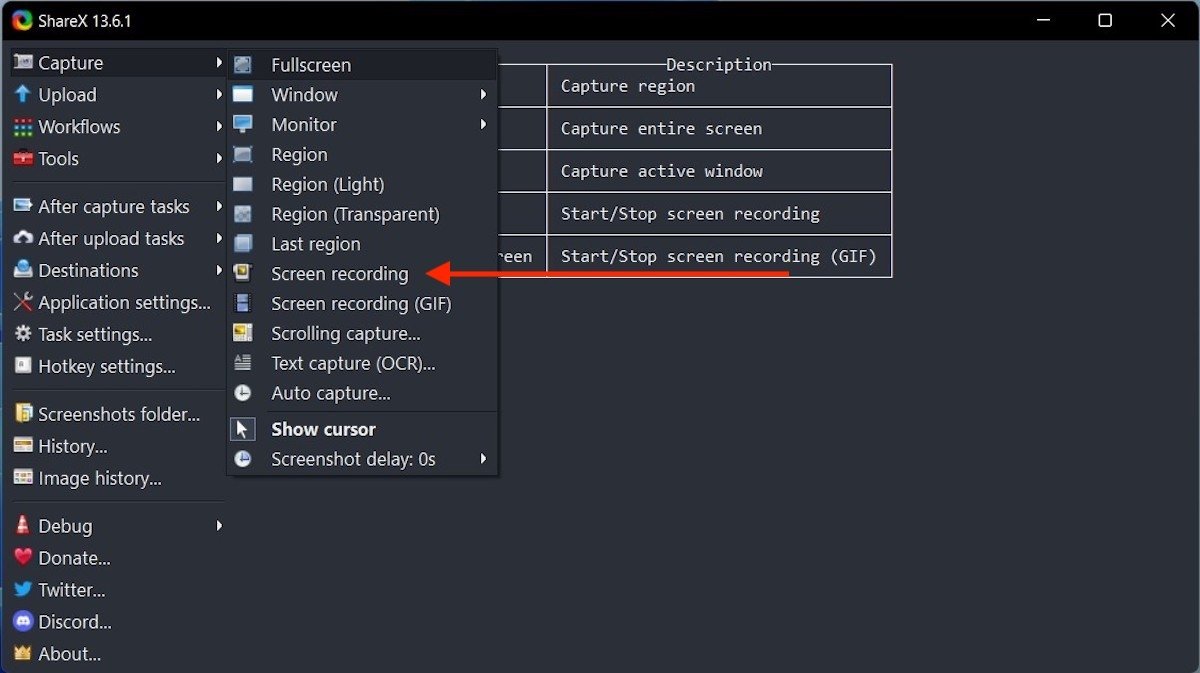 Start taking the screenshot
You may need to download a specific codec to perform the recording. If this is your case, wait for the process to finish.
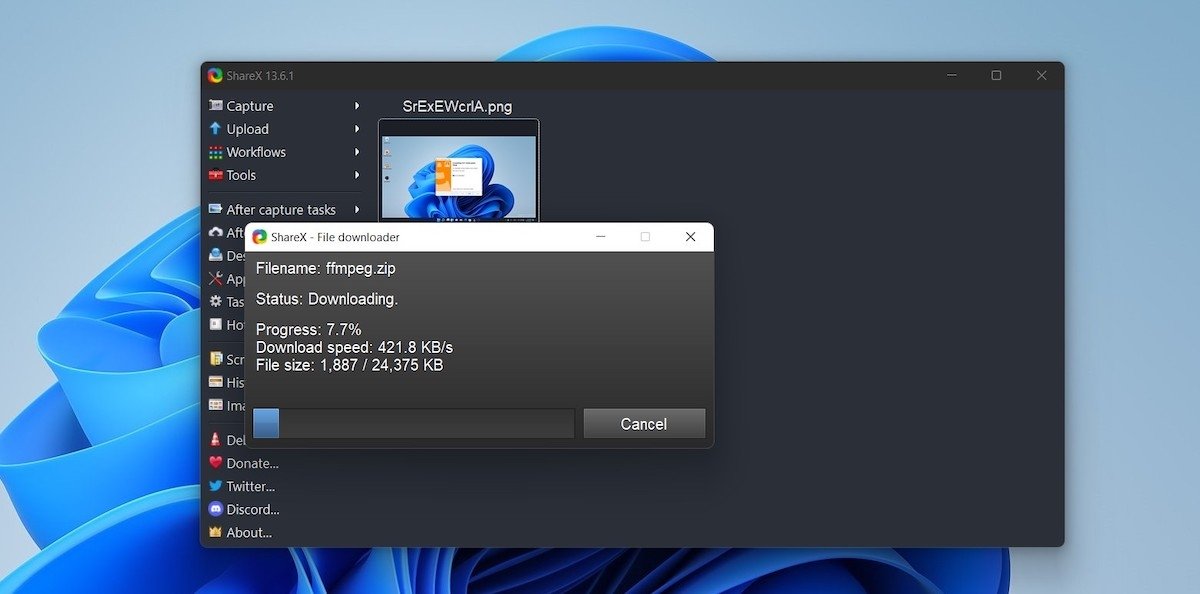 Downloading codecs
Next, select the area you want to capture with this application. Clicking will start the recording.
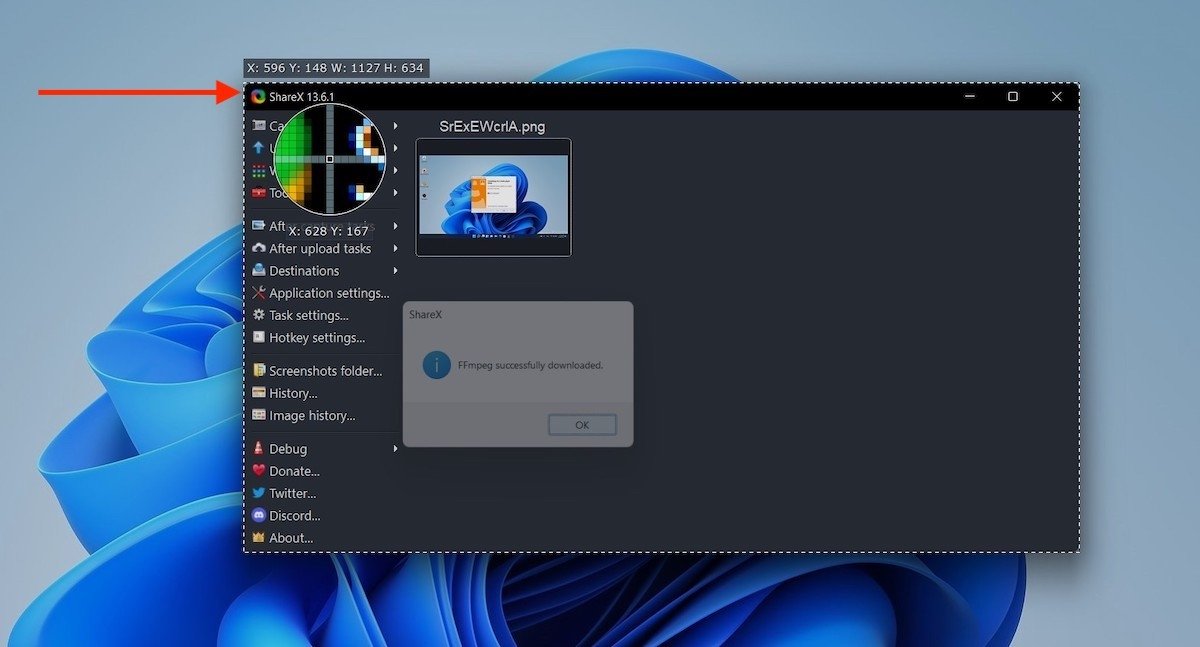 Start recording a region
When you have finished, click on Stop.
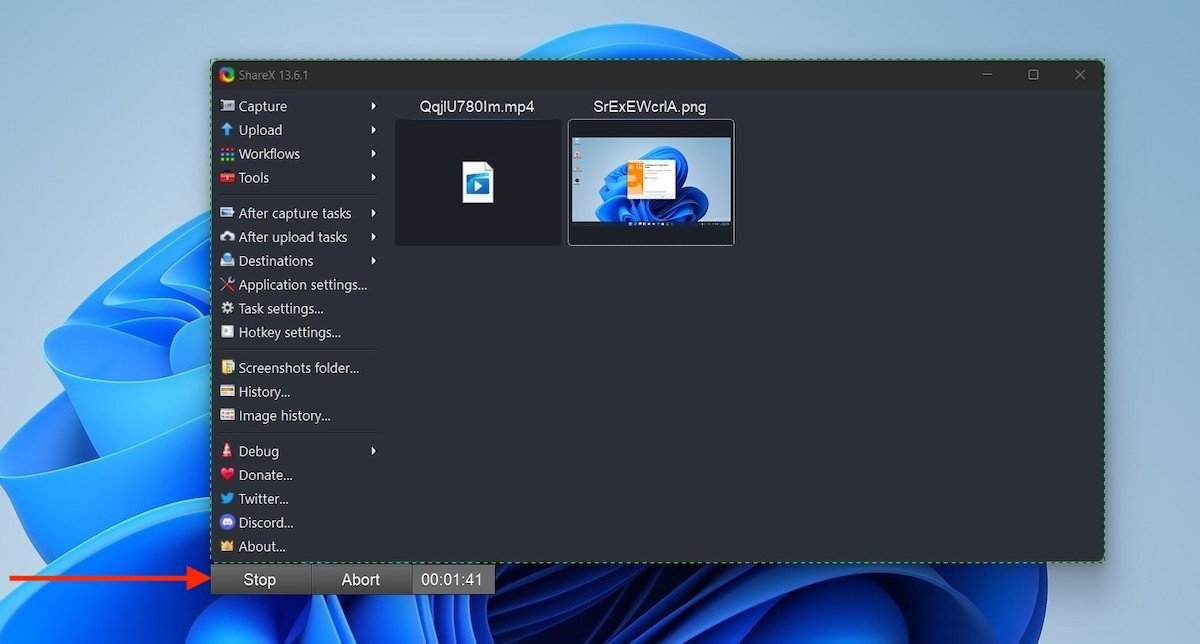 Stop the recording
A link to the video you have just recorded will appear in the lower right corner of the screen.
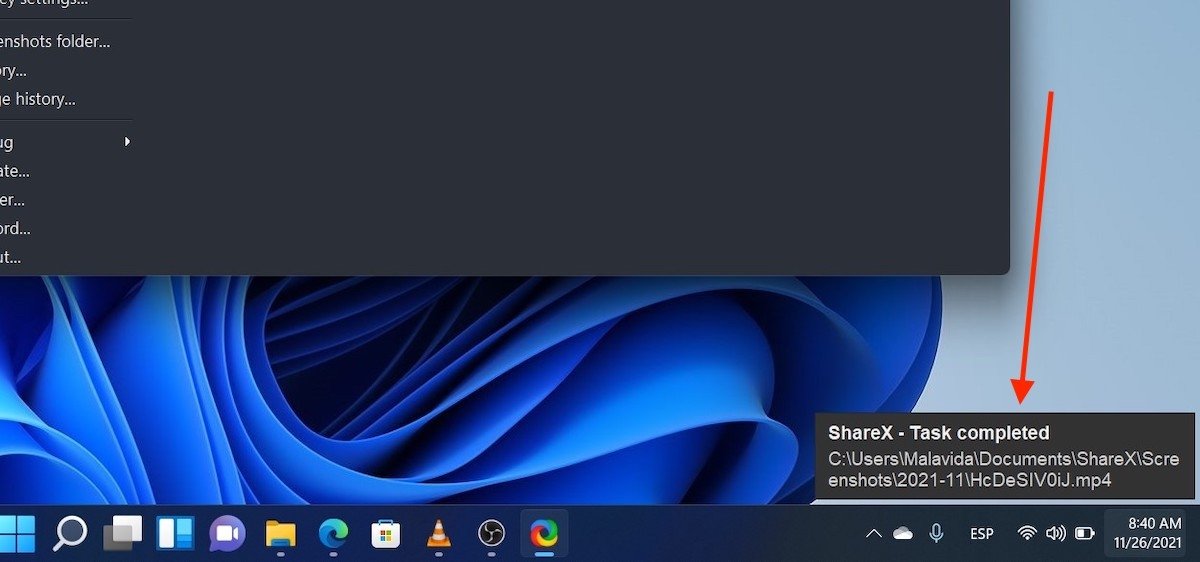 Recording file
By clicking on it, you will access the ShareX snapshot directory.
How to record the screen with VLC
Another very interesting option to capture the screen in Windows 11 is VLC.
Once installed, open the Media menu and click on Open Capture Device.
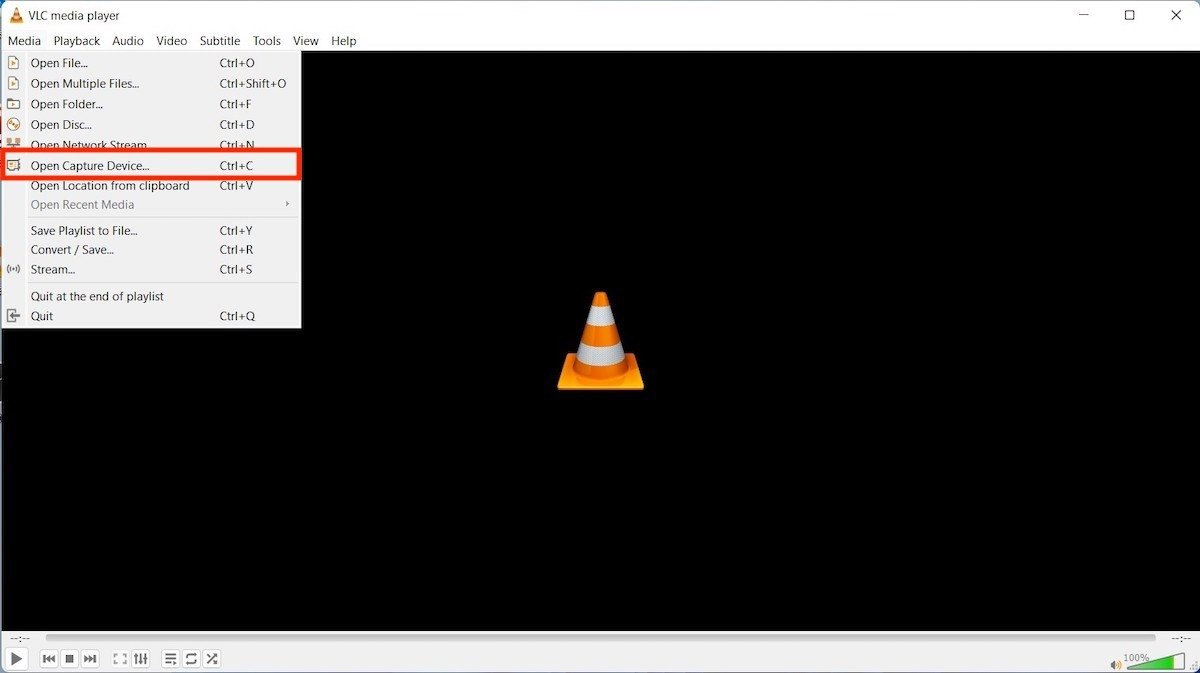 Open a capture device
Then, in the pop-up window, select Desktop from the top drop-down and set the FPS to 60.
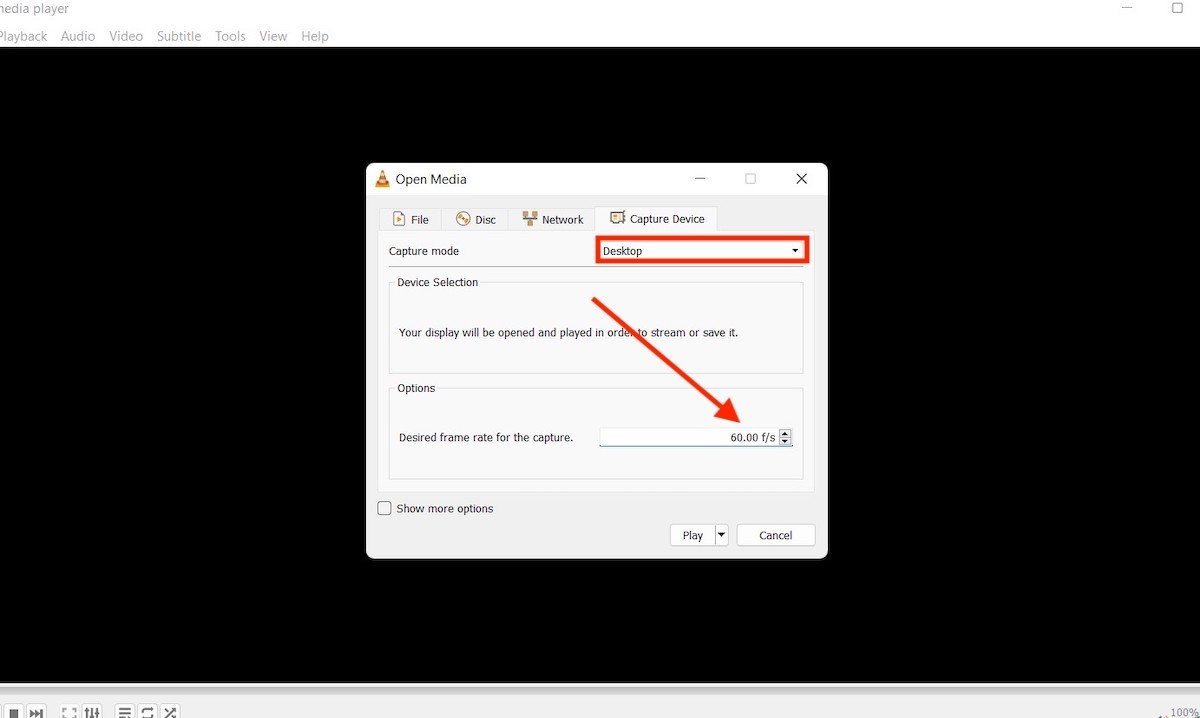 Select the desktop as the input source
Click on the arrow next to Play. Click on Convert.
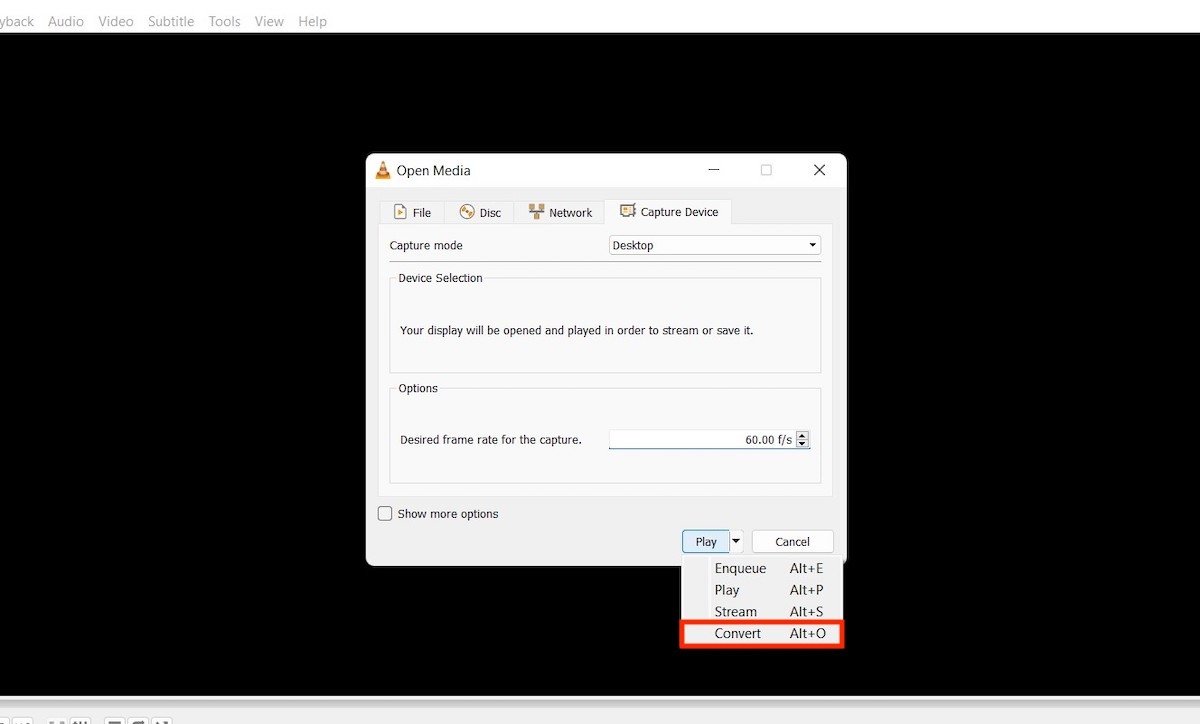 Conversion option
In the profile section, choose the option shown in the following screenshot. Next, specify the directory and file name for your video.
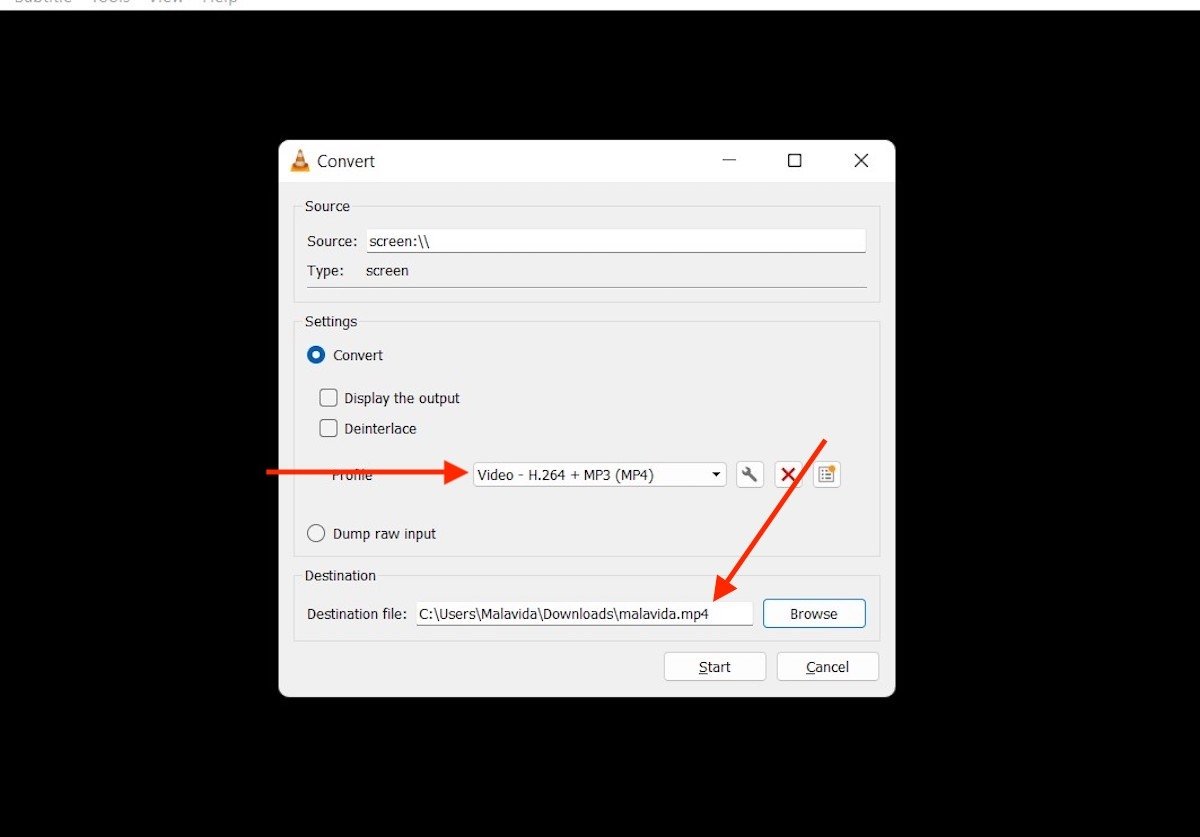 Recording format and file name
After clicking Start, VLC will start recording everything that happens on the screen. When you want to end the capture, click on the stop button.
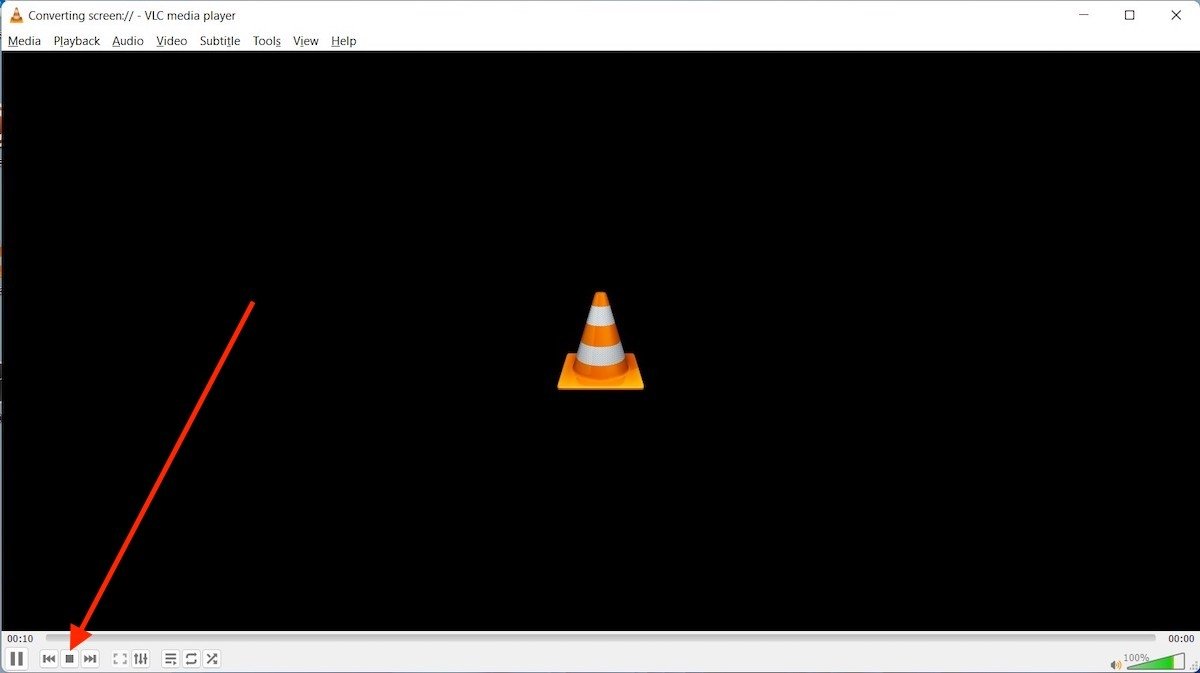 Stop recording
The capture will be stored in the directory you specified above.
Screen capture with OBS Studio
The last application that we recommend to record the screen in Windows 11 is OBS Studio. It is also free and open source. In addition, it includes a long list of functions that you will find interesting.
After installation, the first thing you need to do is to add a source. In this case, the one you are interested in is Display Capture.
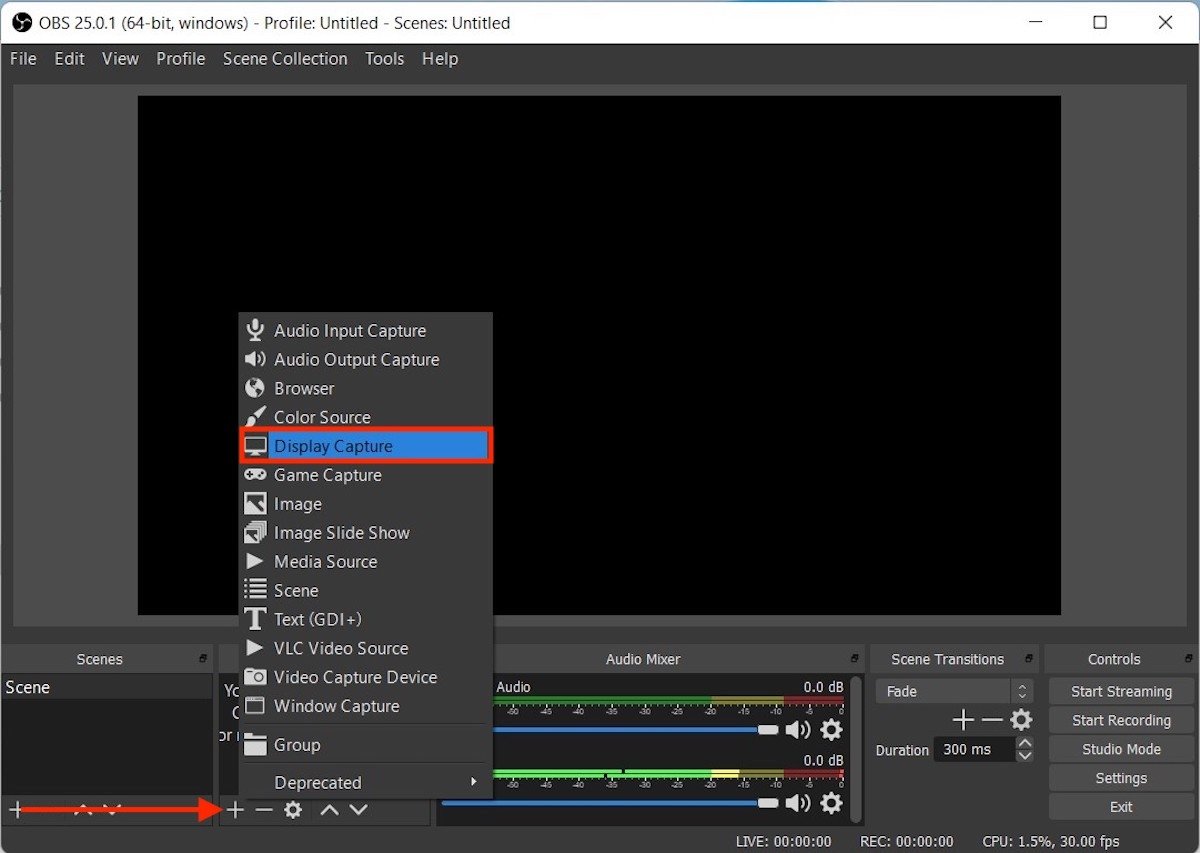 Add a source for the recording in OBS Studio
In the dialog that appears, choose the recording options and click OK.
 Recording options
Then, click on Start recording, a button located on the right side of the main window.
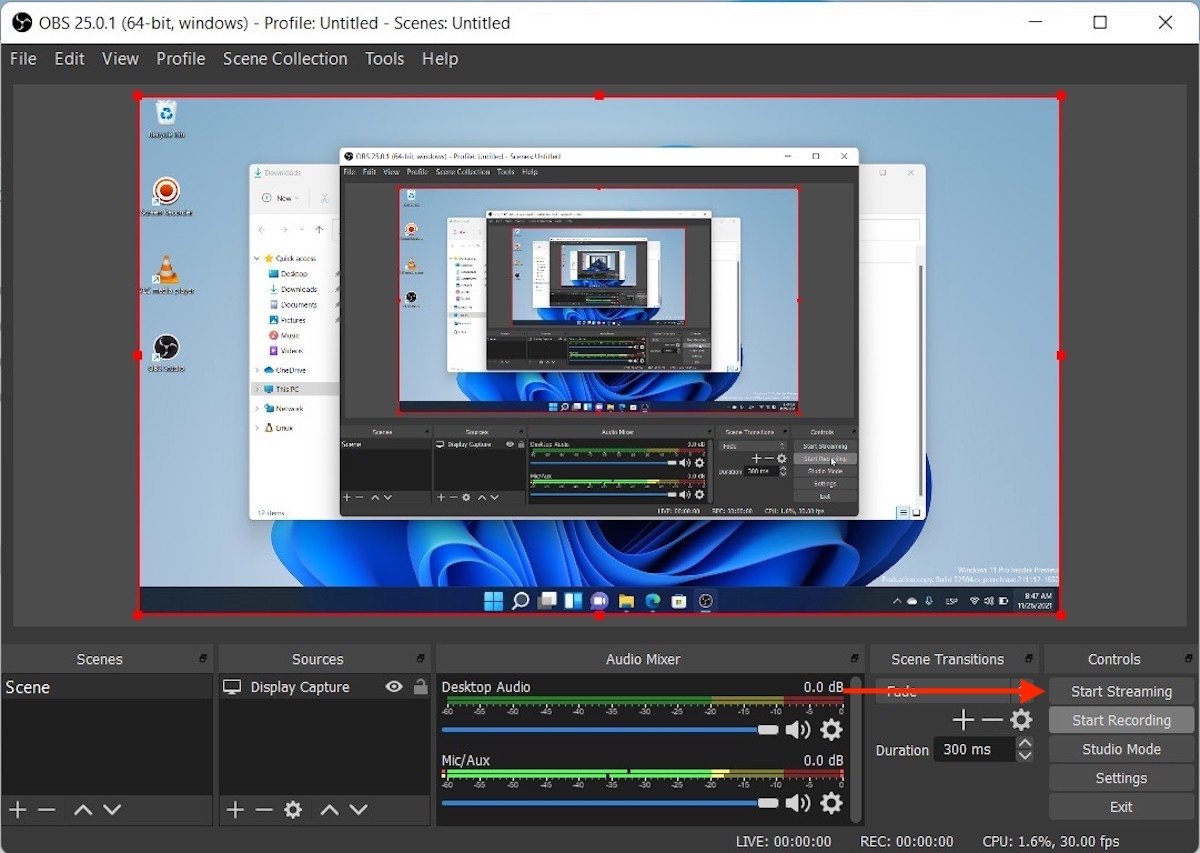 Start recording in OBS Studio
When you want to stop recording, click on the Stop recording button.
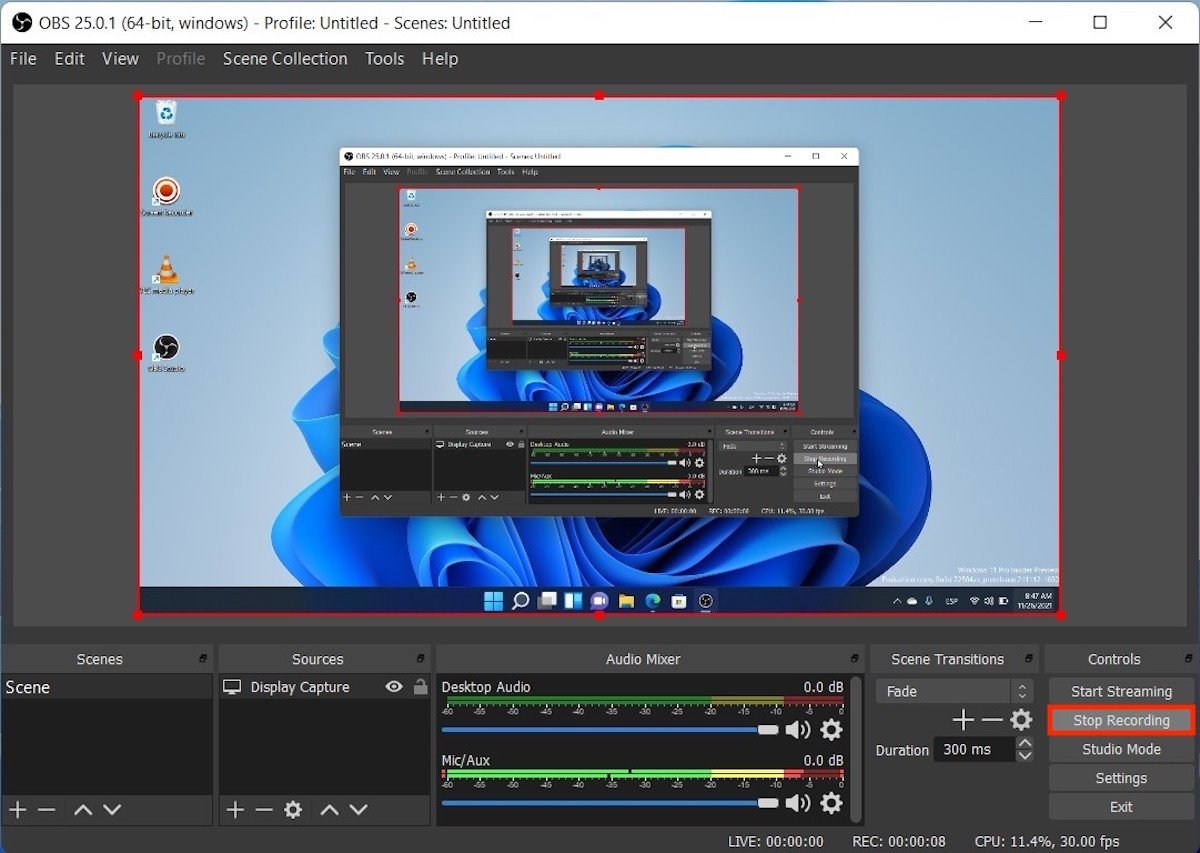 Stop the recording in OBS
All captures are available in the File menu and the Show Recordings option.
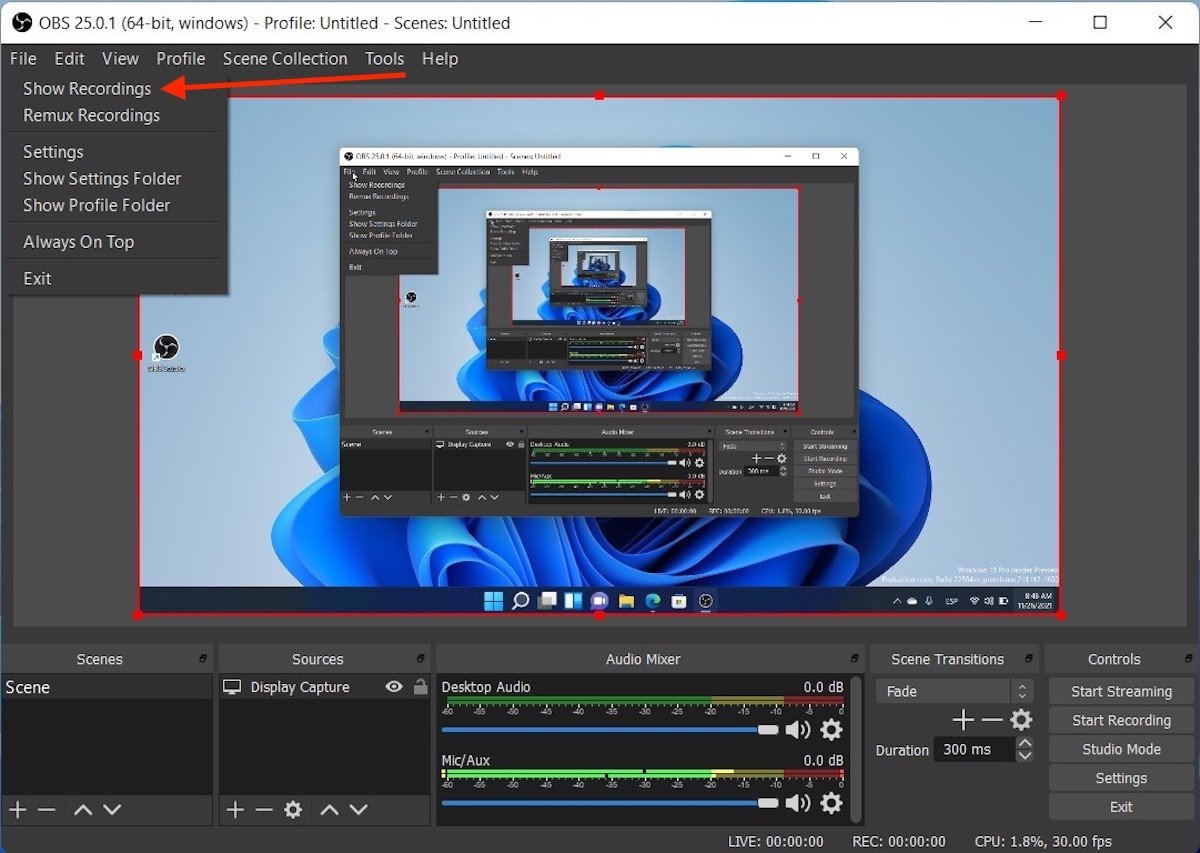 Access all the screenshots
Any of the three alternatives is equally valid to do so, just choose the one that best suits your likes.
