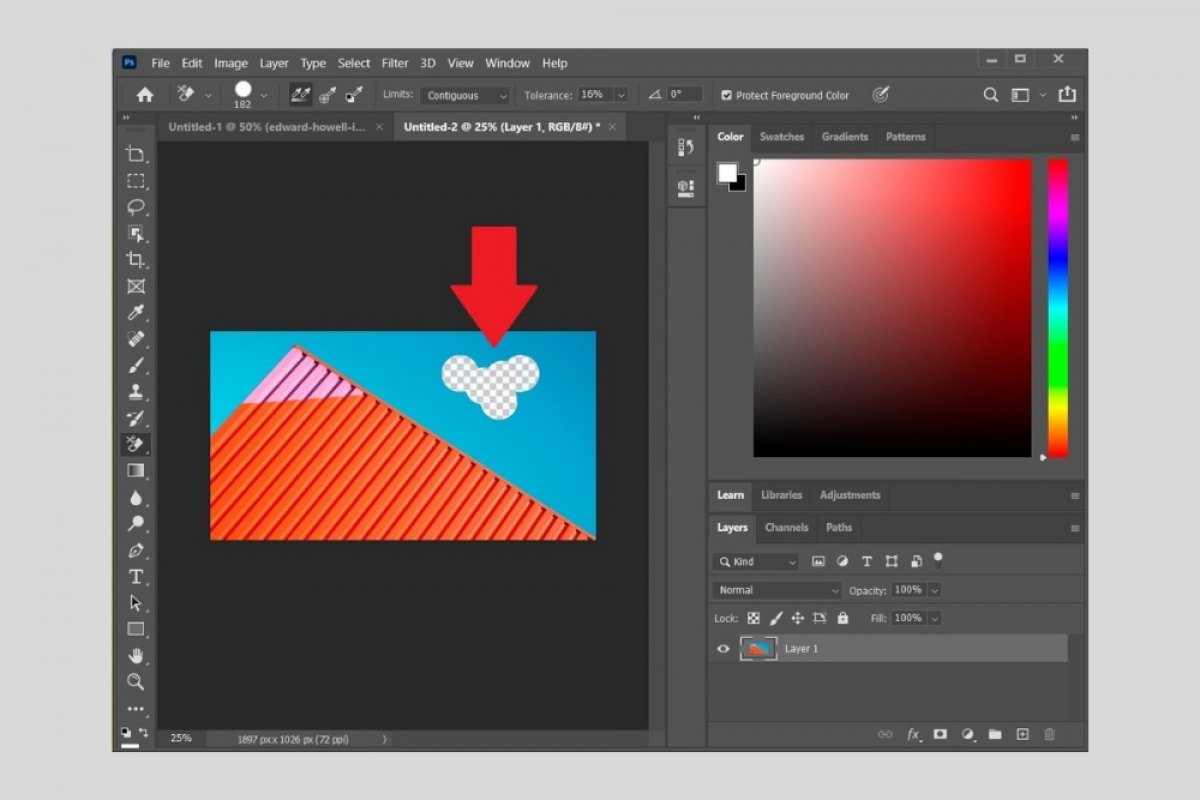
One of the most popular Photoshop features is the ability to erase the background from any graphic document. This process can be useful in some specific editions, such as modifying the atmosphere of a picture or changing a landscape's sky. Below, we explain in detail the steps to erase an image's background.
First, open Photoshop and select the image you want to remove the background from. In this case, we will erase the sky from the photo so only the building will be visible. Click on the Eraser Tool and select the Background Eraser Tool. You can also use the Magic Eraser Tool, a quicker but sometimes less accurate tool.
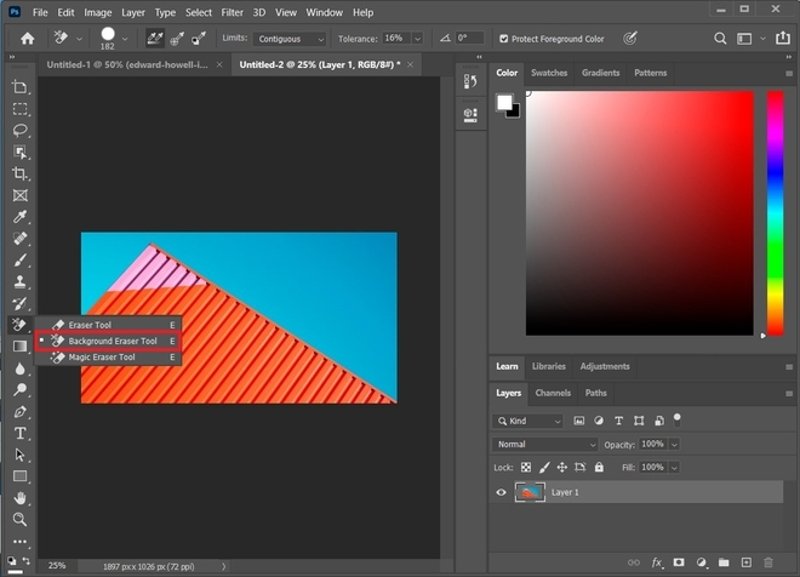 Background eraser
Modify the tolerance of the tool according to your needs. The lower this value is, the more accurate you will get when erasing the background. However, the process will be slower.
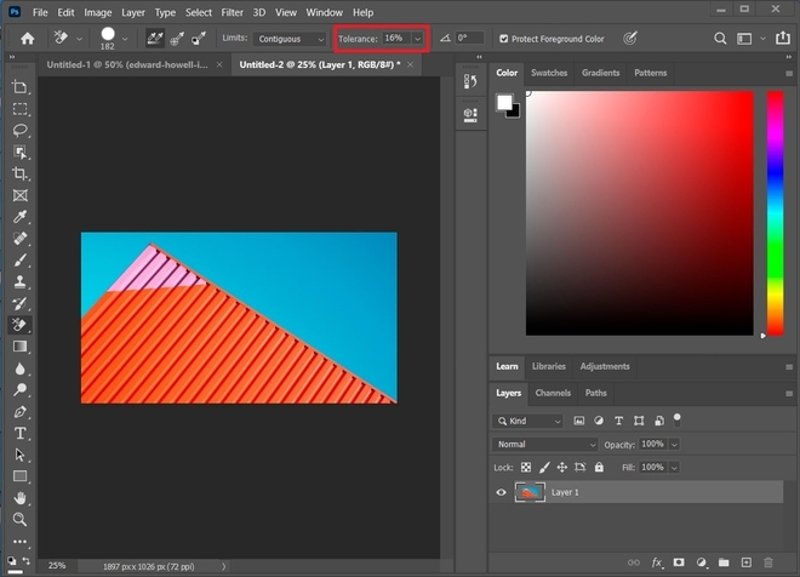 Change the tool's tolerance
Now, move the cursor over the image starting from the background area. Move through it, erasing it progressively. Be careful not to get into areas that are not part of the background. Keep in mind that you can undo any change by using the combination CTRL + Z.
 Erasing the background progressively
Once you have finished, you will see a pattern of white and gray squares. That means that this area has been erased and is completely transparent.
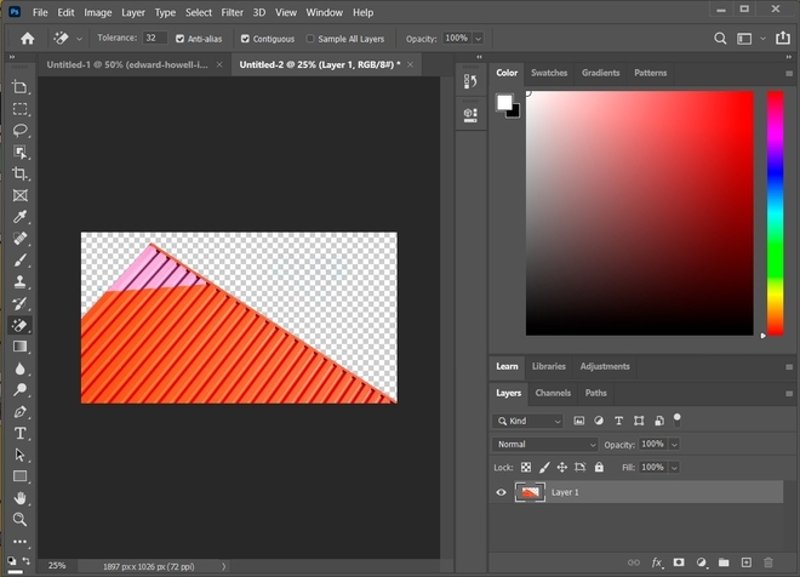 Background erased
If your intention was to replace the background of your photo with another one, just paste it into a new layer. Create one by clicking on the button Create new layer.
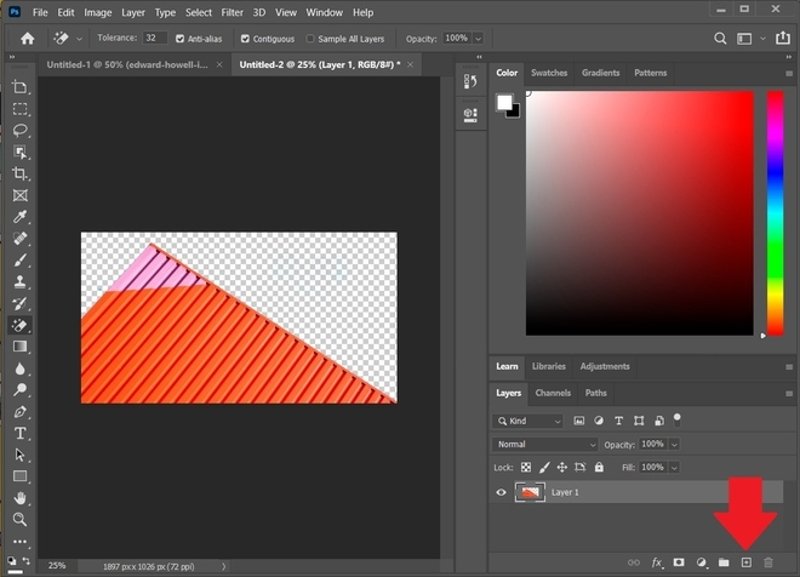 Add a new layer
Make sure that the new layer is selected and drag the new background to it. Of course, you also have the possibility to use the copy and paste command, if it is easier for you.
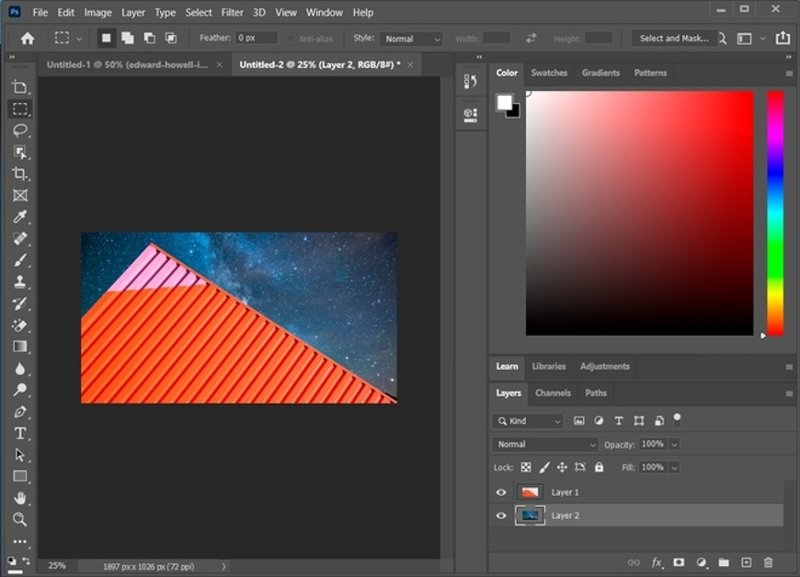 New background
After following these steps, your photo will have a new and renewed background. Finally, do not forget that if you want to save the image without a background, respecting the transparency, you must use the PNG format.

