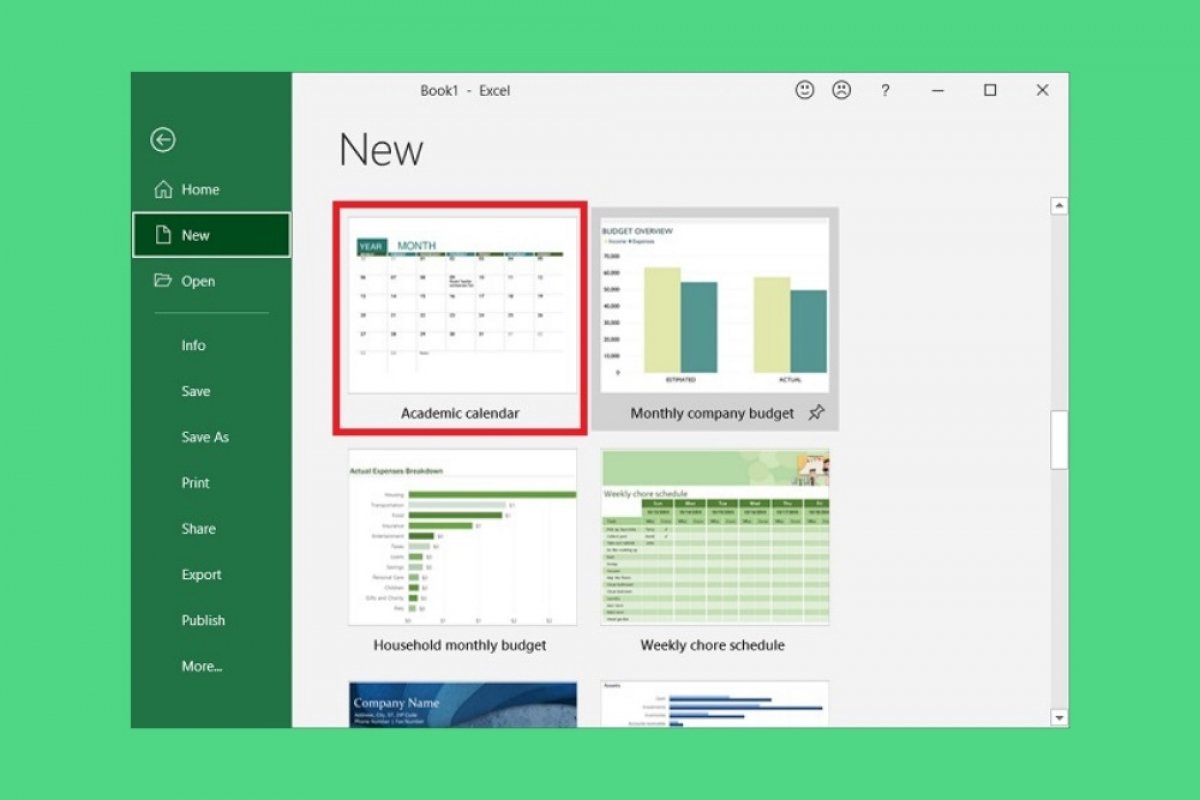
Microsoft Excel templates are pre-designed files that include various graphical elements, functions, patterns, or structures. With them, the user does not have to worry about the design, and can focus solely on entering content.
To better understand the purpose of the templates, consider the following example. Let's say a user wants to create a calendar to coordinate the activities in an academy. The first thing you should do is to design it on the spreadsheet, formatting the cells to obtain the items usually included in a calendar. With the design finalized, you would be in charge of entering the data to correctly organize the activities. However, a simpler option is to use a calendar template. Thus, you can do half of the work in a few clicks.
Microsoft Excel includes a long list of templates officially. All of them are free of charge. To access the gallery, use the More templates button, located on the welcome screen.
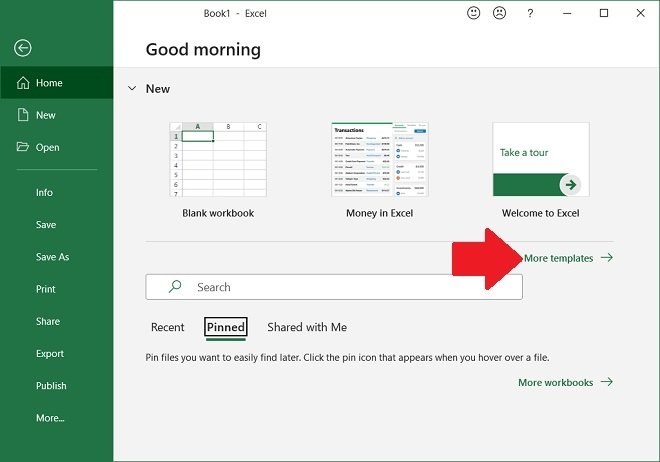 Access the template gallery
Take advantage of the search engine and the different categories to find the one that suits your project needs.
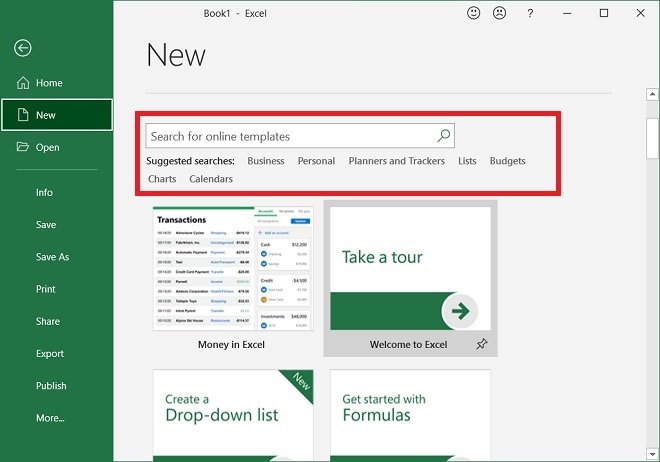 Search for templates
Once you find it, double click on it to load it.
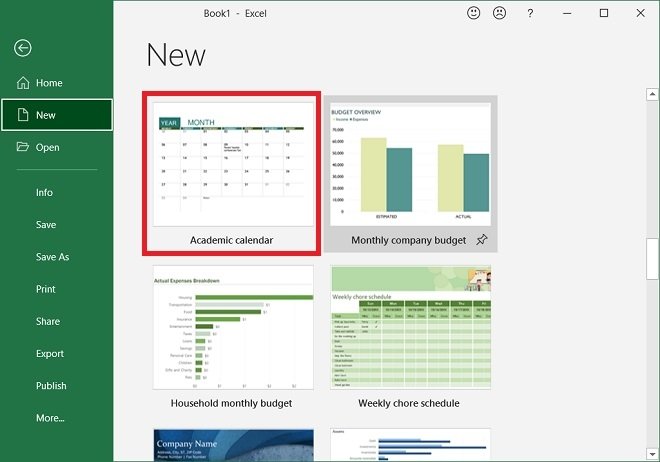 Template for a school calendar
Immediately, you will find yourself in the Microsoft Excel workspace. The template design will have been applied to your new spreadsheet.
It is also possible to create your own templates. To do this, you must create your custom design and save the file in the appropriate format. In the Save this file window, select the Excel Template (*.xltx) option. This differs from the most common format, that uses the XLSX extension.
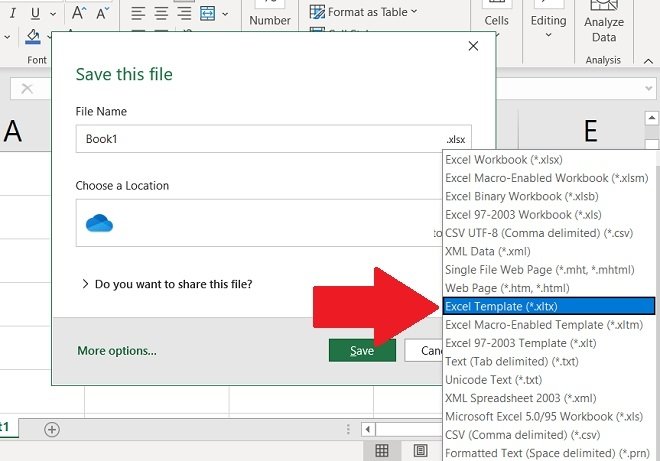 Create a customized template
Once you have your template, double-click on it to open it from the file explorer. Use it as many times as you need. When you open the template and make modifications, Excel will prompt you to save the workbook as an XLSX file, thus preserving the structure and layout of the template and avoiding overwriting changes.

