Magisk is an interesting utility that, combined with Magisk Manager, helps us perform different modifications on an Android device. In this article, we will explain what it is, what it is for, and how to install and use it to get superuser (or SuperSu) access on your device.
What is Magisk, and what is it for
Magisk is a tool for rooting Android. This means it helps you gain superuser access or administrator privileges on a device, which provides more control and lets you make advanced modifications to the operating system that are not usually available.
Magisk Android is one of the most popular options because it offers several advantages and features different from other rooting methods. This is because it uses a technique known as systemless root. This process does not directly modify the system files. Instead, it installs itself as an additional layer that overlays the operating system. This has several advantages, such as:
- Hiding root access: you can hide root status from applications incompatible with rooted devices. This means you can use applications designed to not work on rooted devices, such as banking or payment applications.
- Magisk Modules: it allows the installation of modules or add-ons that can be installed to the system to enable additional functions or modify the device's behavior. Several modules are available, including performance enhancements, user interface modifications, and more.
- Magisk Manager: this is an add-on application that provides a graphical interface for managing the root process, installing modules, hiding root access, and performing updates.
However, keep in mind that rooting an Android device has risks, and doing so may invalidate the manufacturer's warranty. In addition, making incorrect modifications or installing incompatible modules may cause problems in your device. Therefore, it is advisable to be well-informed of the risks involved before continuing the process.
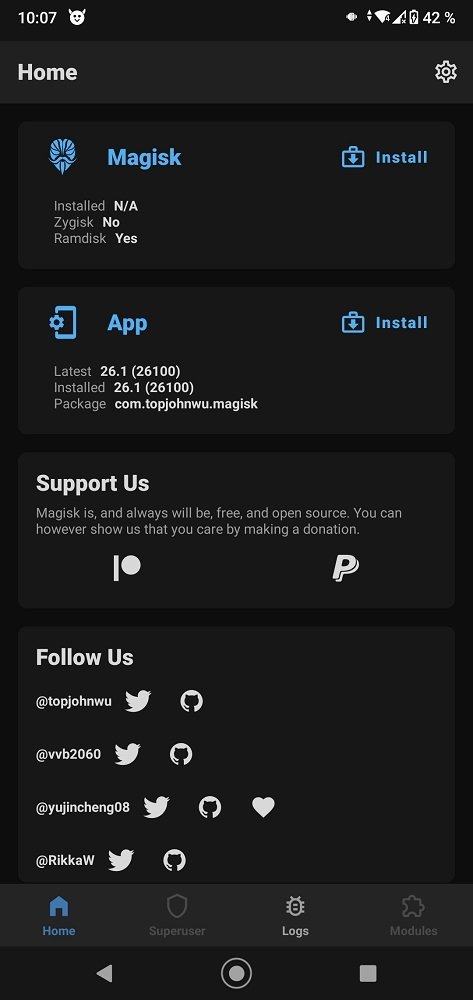
 Screenshot of Magisk Manager's main interface
How to install Magisk on Android
The Magisk APK installation process changes if you have a rooted Android device. Below we explain the process to be followed in each case:
How to install Magisk on an Android device with root
If your device already has root access, you can follow these steps to install Magisk:
- Before you start, make sure your phone has a file manager with read-and-write access to the file system.
- Download Magisk Manager from Malavida or a trusted site (such as its official website) to get the latest version available.
- Tap the file to start the installation (remember that you must have enabled the Unknown sources option in the device settings to allow the installation of apps that do not come from an official store).
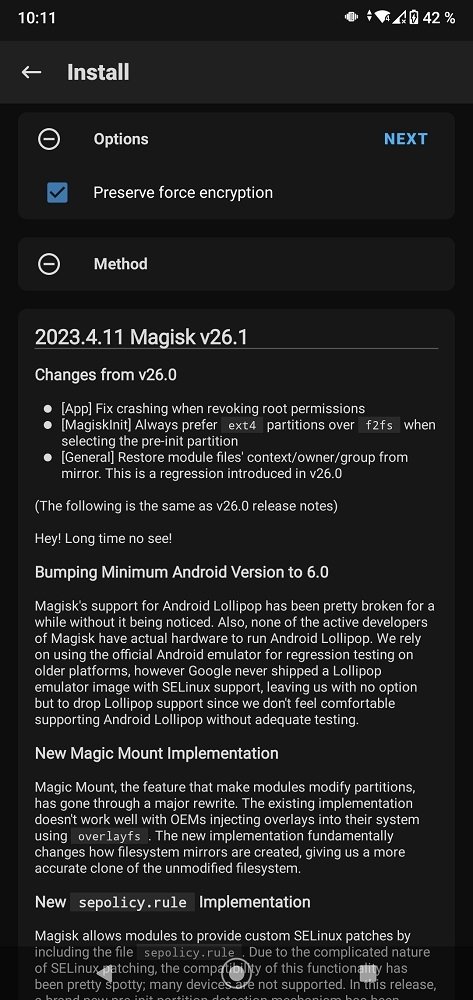
- Once Magisk Manager is installed, open it, tap the Install button, and select Install again in the dialog box that pops up.
- Magisk Manager will download Magisk and install it on your device.
- Once the installation is complete, it will prompt you to reboot the device. Tap the Reset button to do so.
- After rebooting, check if Magisk has been installed correctly by opening the Magisk Manager application. If you can access the Magisk administration functions and see its logo, the installation was successful.
 How to install Magisk from Magisk Manager
How to install Magisk on an Android device without root
To install Magisk on a device that is not rooted, follow these steps:
- Before you start, you must unlock the bootloader of your Android device. Note that this process varies by device manufacturer and model.
- Once you have unlocked the bootloader, make sure your device has the USB Debugging option enabled. To do this, go to your device's settings, and look for the Developer Options section (if you do not see this section, go to About Phone and repeatedly tap the build number until it is enabled).
- Download Magisk's latest version from the official repository on GitHub. You need the Magisk ZIP file, not the Magisk Manager application.
- Restart your device in recovery mode. To do this, press and hold the power and the volume down buttons, although this may vary depending on your smartphone model.
- Once you enter recovery mode, use the volume buttons to navigate and the power button to select options. Choose Install and locate the Magisk ZIP file in your downloads folder. Select the file and confirm the installation.
- Now, all that remains is to wait for the installation to complete and, once finished, select the Restart or Reboot option to restart your device.
- After rebooting, you should have Magisk installed on your Android device. You can verify this by looking for the Magisk Manager application in your device's application list. If the application shows up and opens correctly, it means that Magisk is installed.
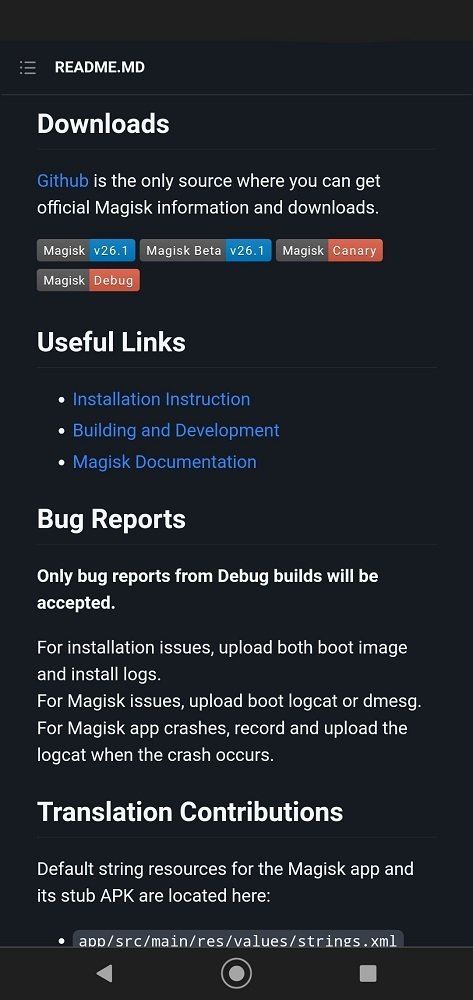
 On Github we can download the most recent versions of Magisk
How to root with Magisk
Once you have installed Magisk on your Android device, you can use it to root your device. Follow these steps:
- In Magisk Manager, tap the Install button and select Install again. This will start the process of patching the boot image file of your device.
- Follow the on-screen instructions to select the appropriate patching method for your device. This may vary by manufacturer and model. Magisk Manager will patch the boot image file and generate a file called magisk_patched.img which will be saved in the Download or MagiskManager folder on the device's internal storage.
- Connect the device to the computer using a USB cable, open a command prompt on your computer, and navigate to the location where the magisk_patched.img file is located.
- Restart the device in recovery mode and select the option to flash or install a boot image. Next, select the magisk_patched.img file you generated previously.
- Confirm the installation and wait for the process to complete to reboot the device. Your device should now have root access.


