
This guide will explain everything you need to know about WhatsApp statuses. We show you what are WhatsApp statuses, how to upload them, and who can see them. We also tell you about their unique features, like their temporary nature or supporting video, images, or text. Keep reading!
What are WhatsApp Statuses and what are they for
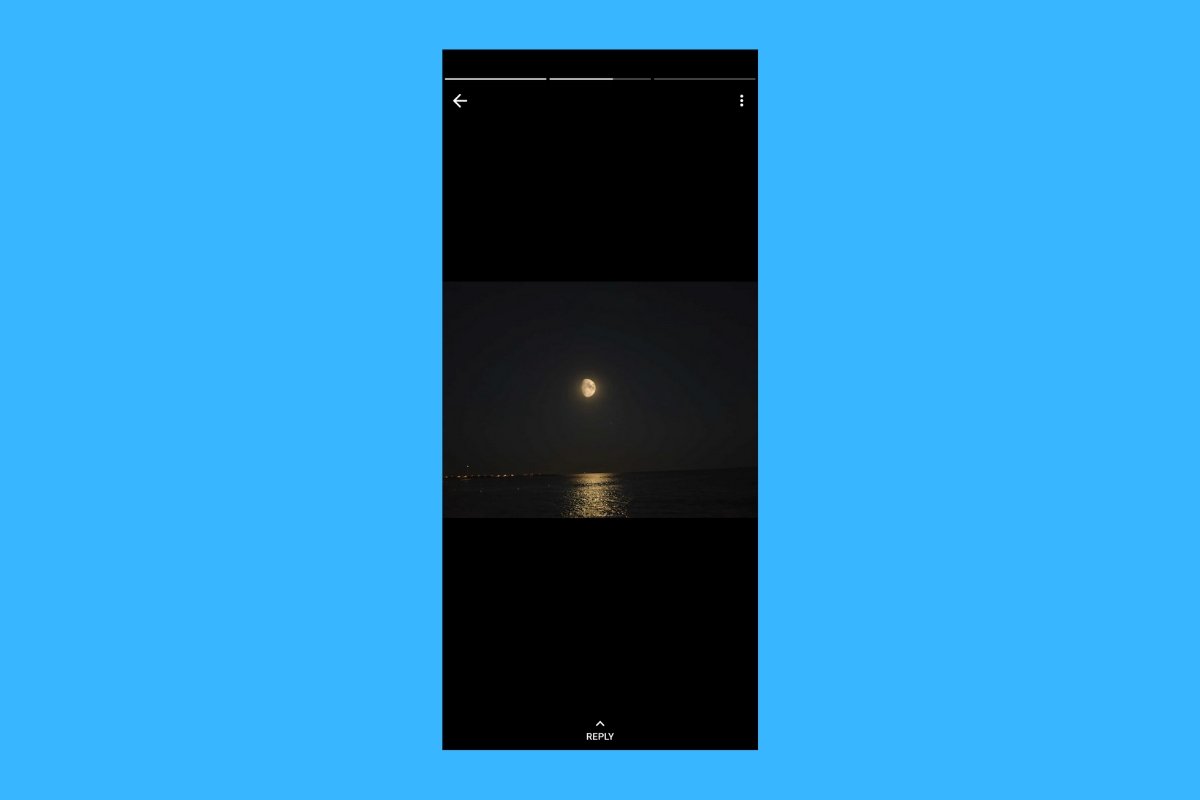
WhatsApp Statuses are a WhatsApp feature that lets you share text, images, and videos. Essentially, they work just like a slideshow. As photos, videos, or texts are uploaded, these contents are stacked one after the other in chronological order. They work exactly like Instagram stories.
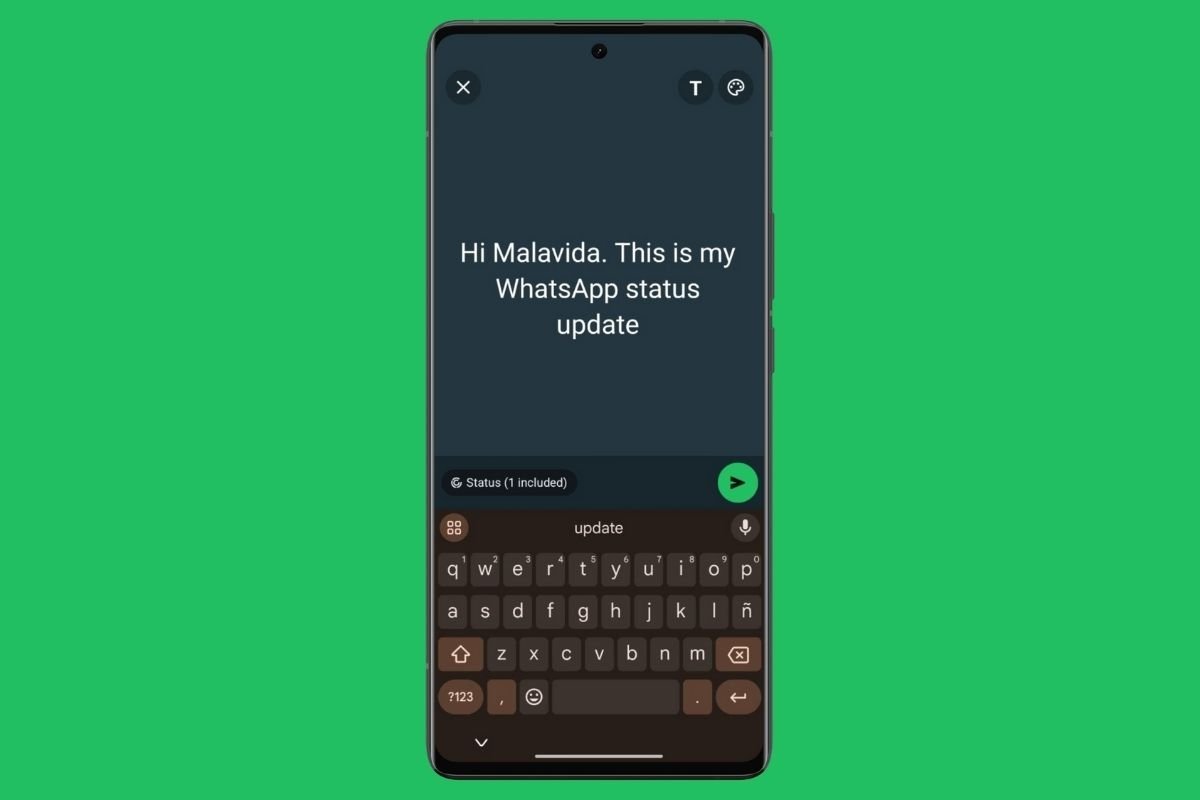 Aspect of a text-based WhatsApp Status without images or videos
The name "status" reflects the main objective of this content format: allowing users to update their contacts on their current status. For example, this space can be used to tell everyone that you are looking for a new job, that you are selling something, that you are on your way to the gym, or anything else you want.
WhatsApp statuses have a unique feature: they last only 24 hours. As we will see later, they can also be deleted earlier. However, by default, they are deleted after one day has passed since they were posted. Therefore, unlike chats, groups, or channels, they are made to disappear.
Again, this fits very well with the definition of "status" because it is assumed that after 24 hours, your status will have changed. After that time, it makes sense to update your status and explain how you are feeling or what you are doing.
Who can see your WhatsApp status?
WhatsApp statuses have the same privacy controls as other profile elements, such as your avatar or biography. If you go to Settings > Privacy > Status you will see the following options:
- My contacts. This option allows only those users you have added to your address book to see your statuses. If you have not saved someone in your contact list, even if you have an open chat with that person, they won't be able to see the updates you send via WhatsApp statuses.
- My contacts, except. This option lets you select contacts from your address book that you will not allow to see your statuses. It is an opt-out tool, although by default the status is still sent to all contacts you have saved.
- Only share with. Finally, this option lets you choose which contacts can see your statuses. Instead of excluding specific people, you authorize who can see your status updates.
 Privacy options in WhatsApp Statuses
The above options apply by default to all content you upload. As you can see in the image above, each time you post a status you will have these three options at your disposal. In this case, the selected criteria will be applied only to the slide you are about to share, not to the rest.
Finally, you may be interested to know that there is no way to post a status for everyone. You will only see the statuses of those users who have saved you in their address book and vice versa. If you need to post content publicly, we recommend you open a WhatsApp channel. It is also relevant to know that statuses are end-to-end encrypted, so not even WhatsApp can see what you have posted.
How do WhatsApp statuses work
Although we have already seen many details about how WhatsApp Statuses work, let's look at the different options you have to create, upload, and share content through this feature.
How to create a WhatsApp status
The first thing you need to know is how to create a WhatsApp Status. We have already told you the process is quite easy, although you must know some details first.
 Steps to create a new WhatsApp Status
Ideally, you should follow these steps:
- In WhatsApp, go to Updates.
- Tap the Add Status button in the top left corner, next to your contacts' statuses.
- Alternatively, tap the camera icon in the bottom right corner to take a photo or video. You also have the pencil button, which lets you quickly create a text status.
- After selecting the photo or video you want to post, tap the button to send it to your status. Remember that it is possible to change who will see the content by tapping the Status button.
- Your status has now been posted.
As you can see, the top button that reads "Add status" is used to choose a photo or video from the gallery. However, if you tap the pencil or camera button, WhatsApp allows you to upload new content. Moreover, these last two buttons let you quickly switch between text, video, and photo.
Additionally, if you like to share photos and videos, you will be happy to know that WhatsApp statuses have the same media editor available in chats. For videos, this allows you to rotate the image, crop the video, and add elements such as stickers. Similar options are available for photos.
Finally, remember that if you decide to post a video, you will only be able to upload a 30-second clip. If you want to post a longer video, you must break it into different WhatsApp Status slides. Fortunately, thanks to the integrated multimedia editor, it is very easy to do this.
How to change a WhatsApp status
Currently, WhatsApp does not allow you to change an already-uploaded status. If you need to edit a status, the only option is to delete and re-upload it.
Note that this also applies to text statuses. You may think these contents can be edited because WhatsApp generates them. However, when uploaded to your Status, the application transforms the text into an image that can no longer be modified. Again, the only thing you can do is delete that slide and regenerate it. You don't know how to do this?
How to delete a WhatsApp Status
If you have regretted uploading something to your WhatsApp status, follow these simple steps to delete it. It is easy.
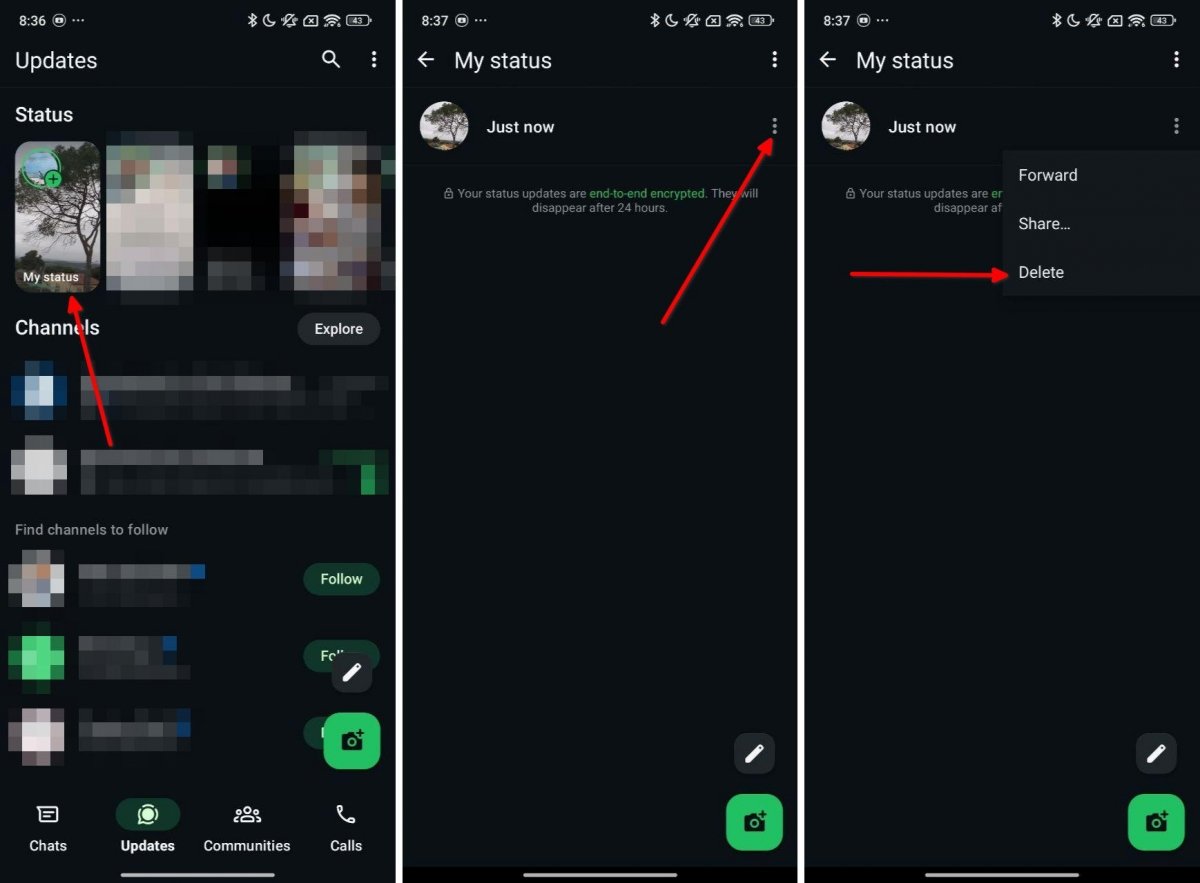 Steps to remove a published WhatsApp Status
This is how you can do it:
- Go to the Updates section.
- Tap on your status in the top left corner.
- Then tap on the three dots next to the slide you want to delete.
- From the menu, select the Delete option.
One thing you should know is that you can't change the order of the statuses. The contents you upload are placed at the end and follow a chronological order. Therefore, if you delete a slide related to the previous or next one, the order will be broken. Again, the solution is to delete and reupload all the contents, following the original order.
